
What to expect when having your beams sandblasted
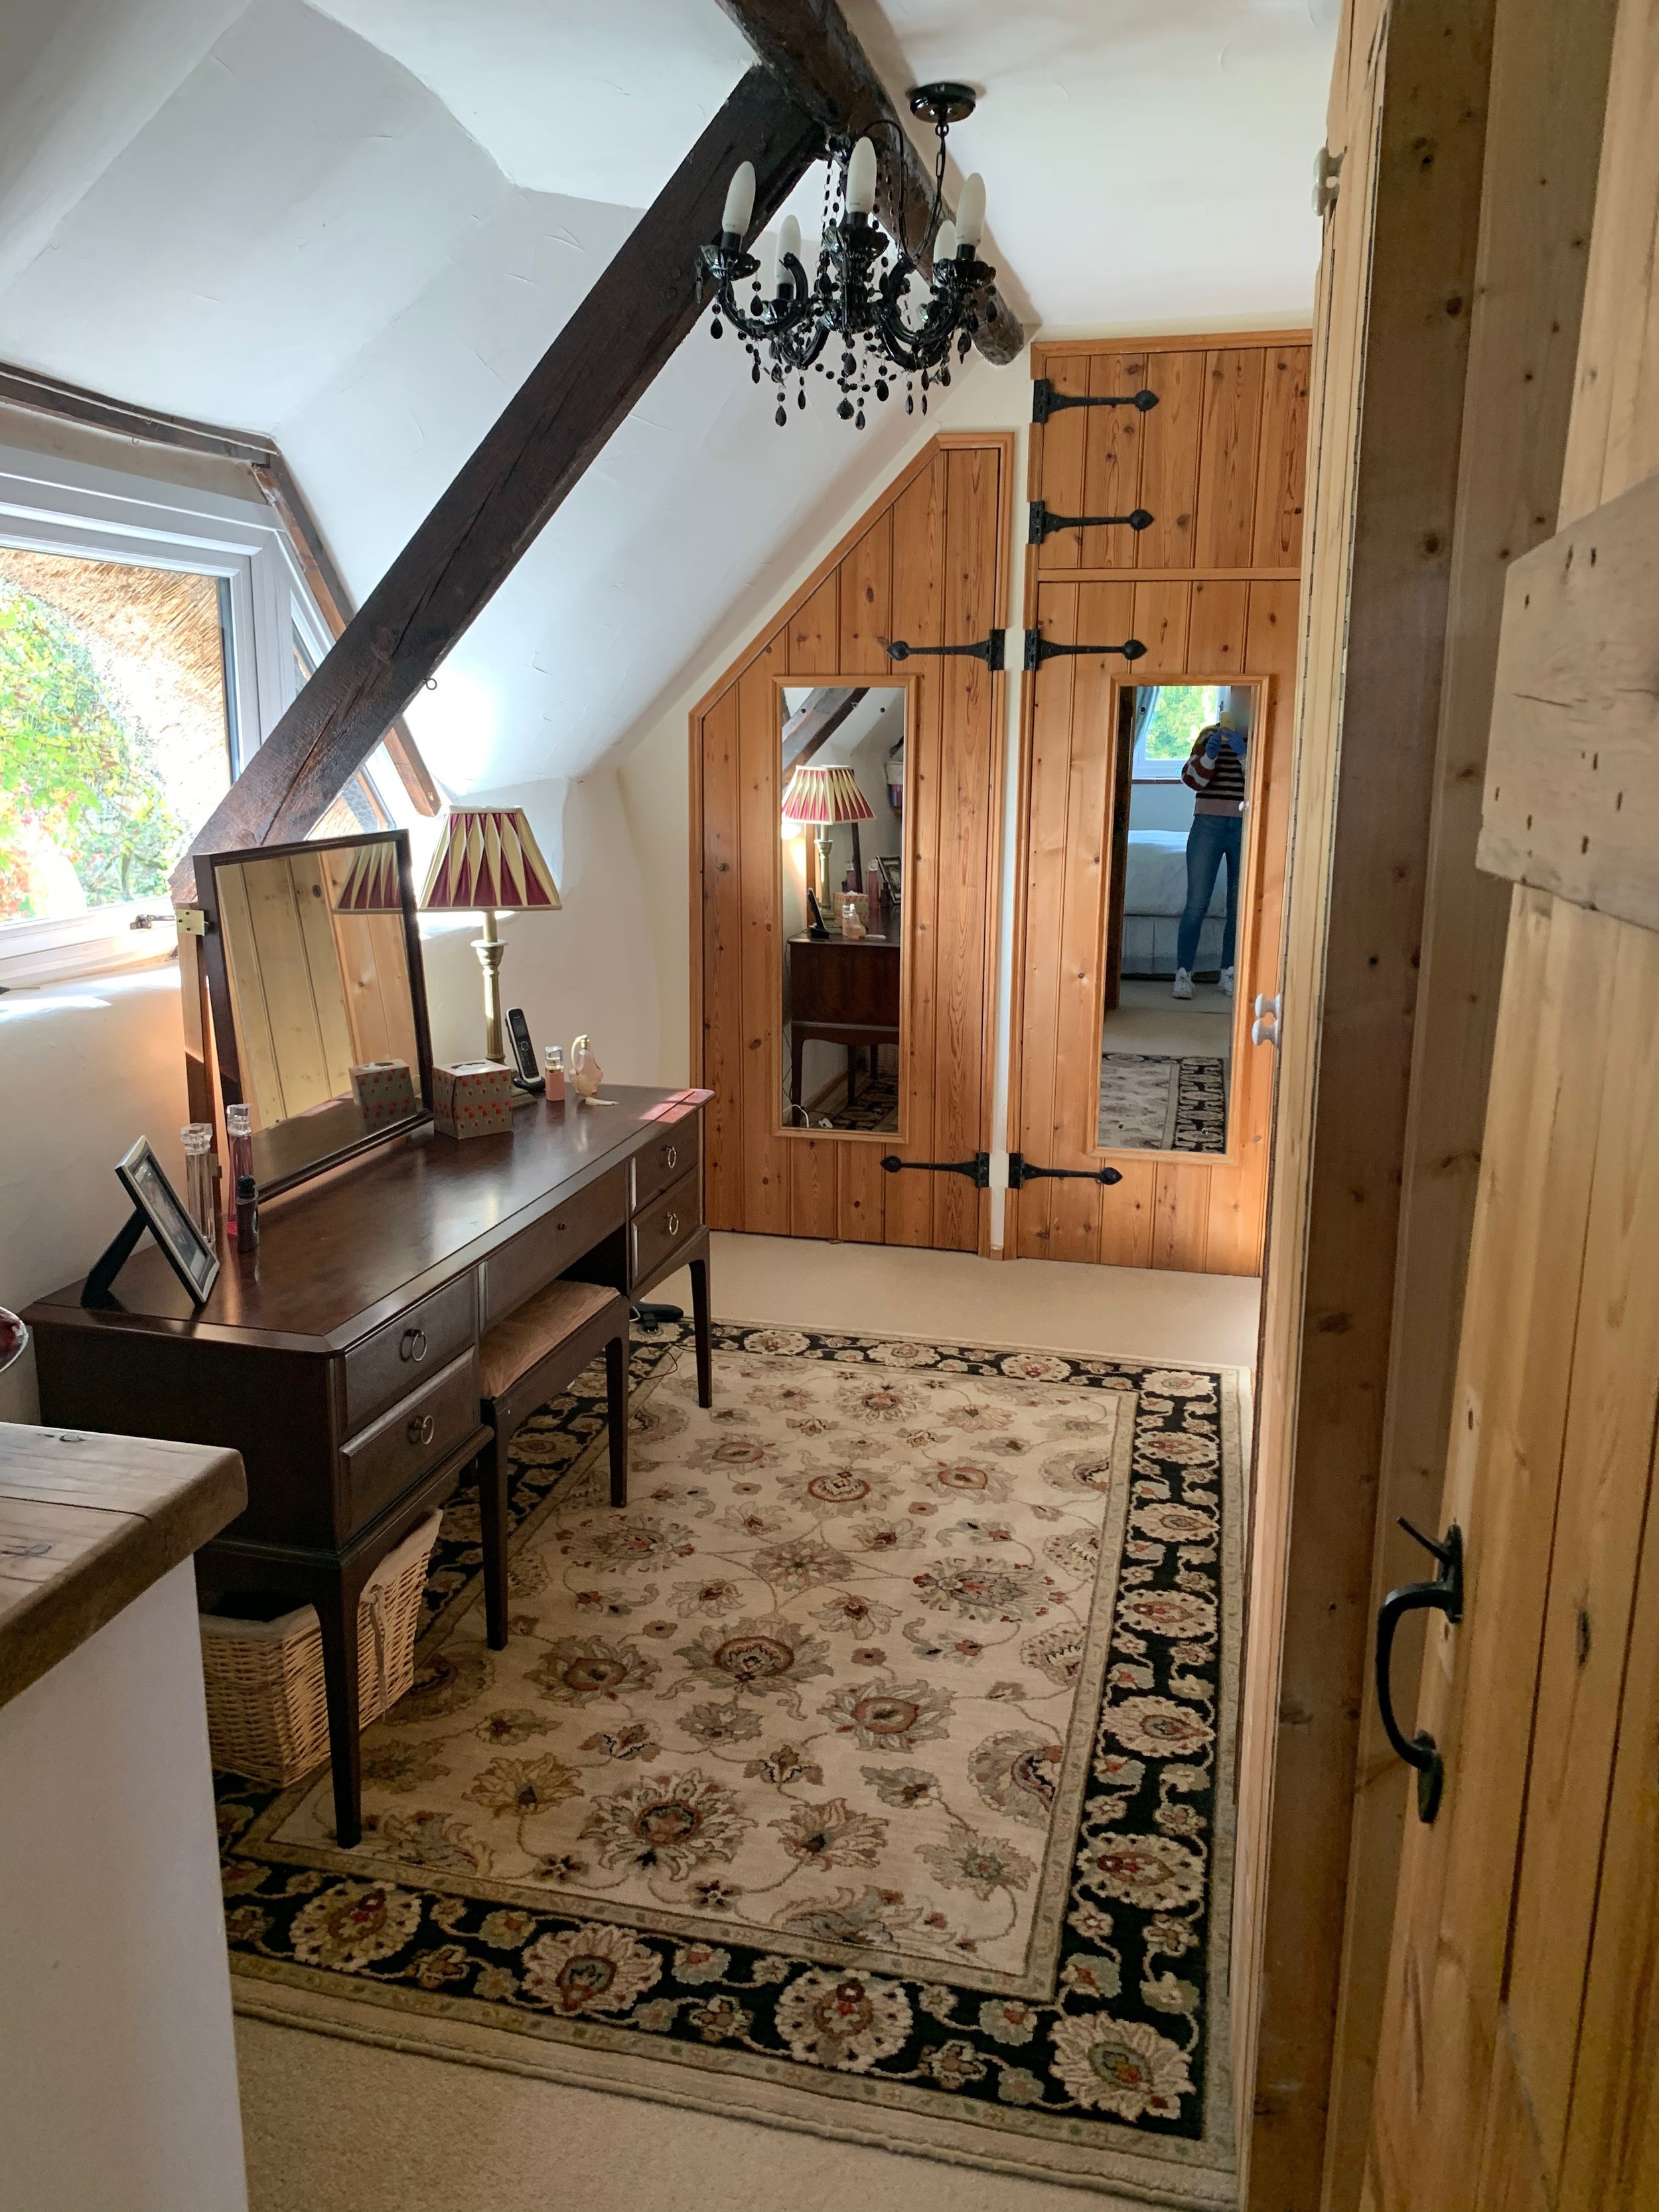
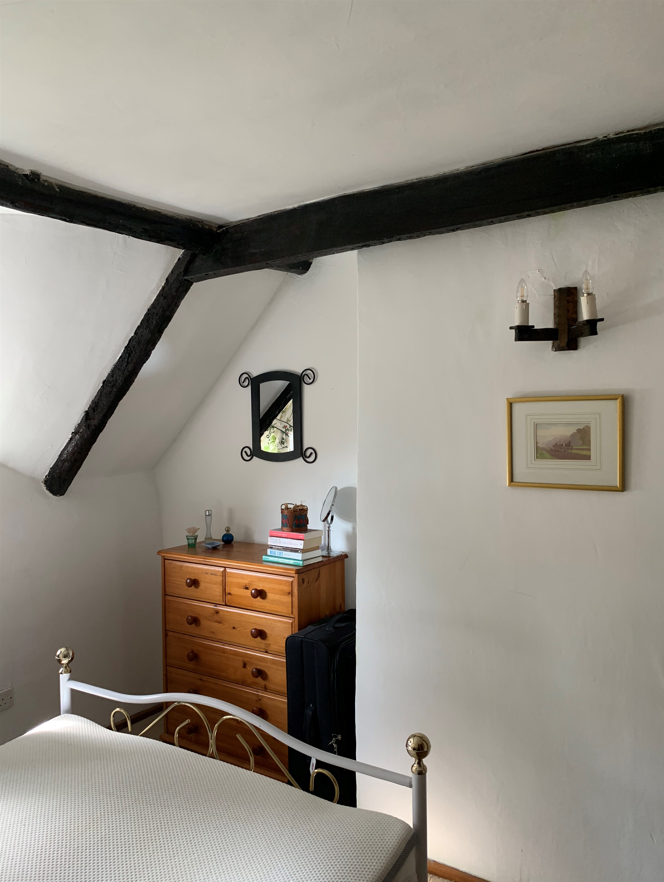
In February 2021, we had over 60 wooden beams sandblasted in our 400 year old thatched cottage. The house has been extended over the years, so not all of it dates back as far, but dark (sometimes black) beams were a consistent theme throughout, ‘featuring’ in eleven out of the thirteen rooms of the house.
Although it hadn’t initially been our priority, once we had lived in the house a few weeks, it didn’t take us long to realise how oppressive the beams felt and how ineffective any improvements would be if we didn’t tackle the beams beforehand.
Researching local sandblasters wasn’t easy though (who knew it’s a bit of a niche profession!) and you have to be mindful to look for those specialising in period properties. Sandblasting as a method of cleaning something (be it rust off of metal/graffiti off of brickwork) varies wildly from job to job and just because someone can sandblast, doesn’t mean you want them near your hundred year old beams. So be careful who you choose and make sure you ask for lots of photos of previous home projects they have completed.
Thankfully our neighbours had their beams sandblasted a few years ago and recommended someone to us. He did an extensive visit, noting down all the beams, talking us through the whole process and showing pictures of previous projects (including pictures of ‘cowboy’ sandblasters and the extensive damage they caused to beams and the surrounding plaster).
We were fully convinced and booked the job a few months in advance. We had to move out for the process, so it was important for us to have the dates align with school holidays and annual leave so we could stay with my parents for the week.
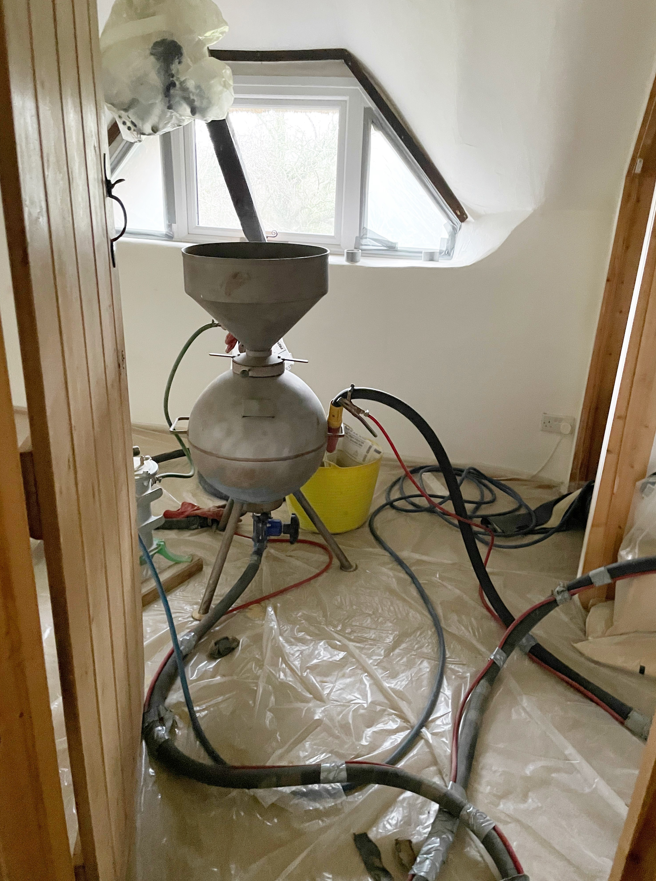
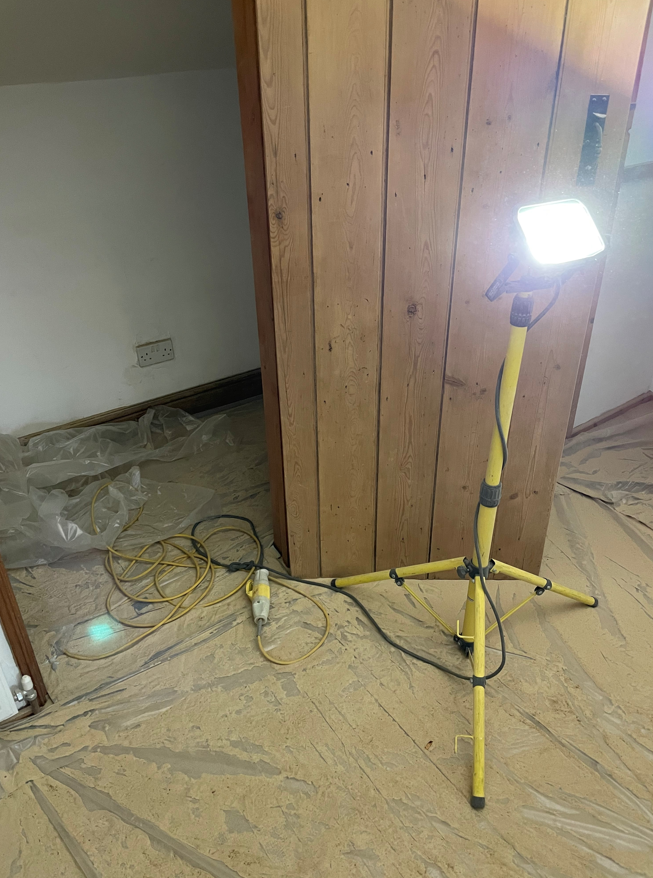
We were advised not to do any decorating before hand, even though I was itching to get started, as the machine is very big, with lots of pipes that move around when in use and they can damage the walls.
So, what to expect when having your beams sandblasted?
Empty every room where sandblasting will take place.
I think you could potentially leave items in built-in cupboards, but make sure to tape up all the gaps around the doors to avoid sand and dust getting in. At the time we didn’t have any inbuilt cupboards so we didn’t do this.
If your home is semi-detached/terraced, warn your neighbours of the work going ahead. The machine is very noisy, and dust and sand can also travel through the beams (if, like us you have beams that run from one home to another) or through electric sockets.
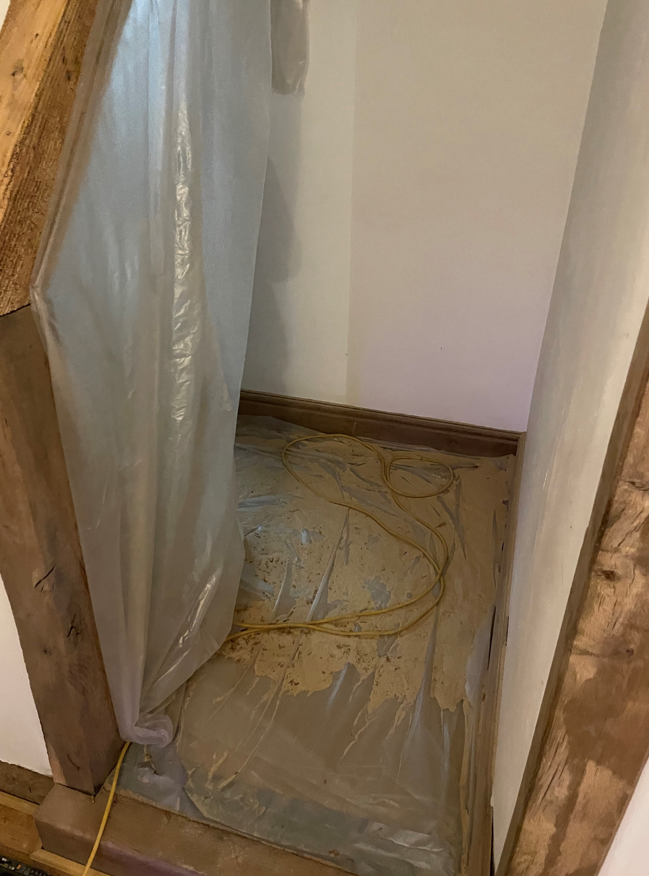
Put all your furniture and belongings in any outbuildings/lofts/spare rooms you have, but beware that the dust will still travel to the rooms you’re not sandblasting in. Use dust sheets to cover your items and tape up doorways, put towels at the bottom of the doors etc to decrease the chances of dust getting in.
Your sandblaster should have their own protective sheets they use including ones with zips for doorways so rooms are still accessible.
In the rooms your sandblaster is working in, there will be layers of sand on every surface. To give you an idea, it was enough for our kids to play in! About 1-2cm!
Within reason, the sandblaster should remove all obvious signs of sand and mess before finishing the job. However, it is impossible for them to clean up everything so expect to be hoovering up sand for weeks (and months afterwards). It gets into everything - think underneath door thresholds and in the hinges of doors.
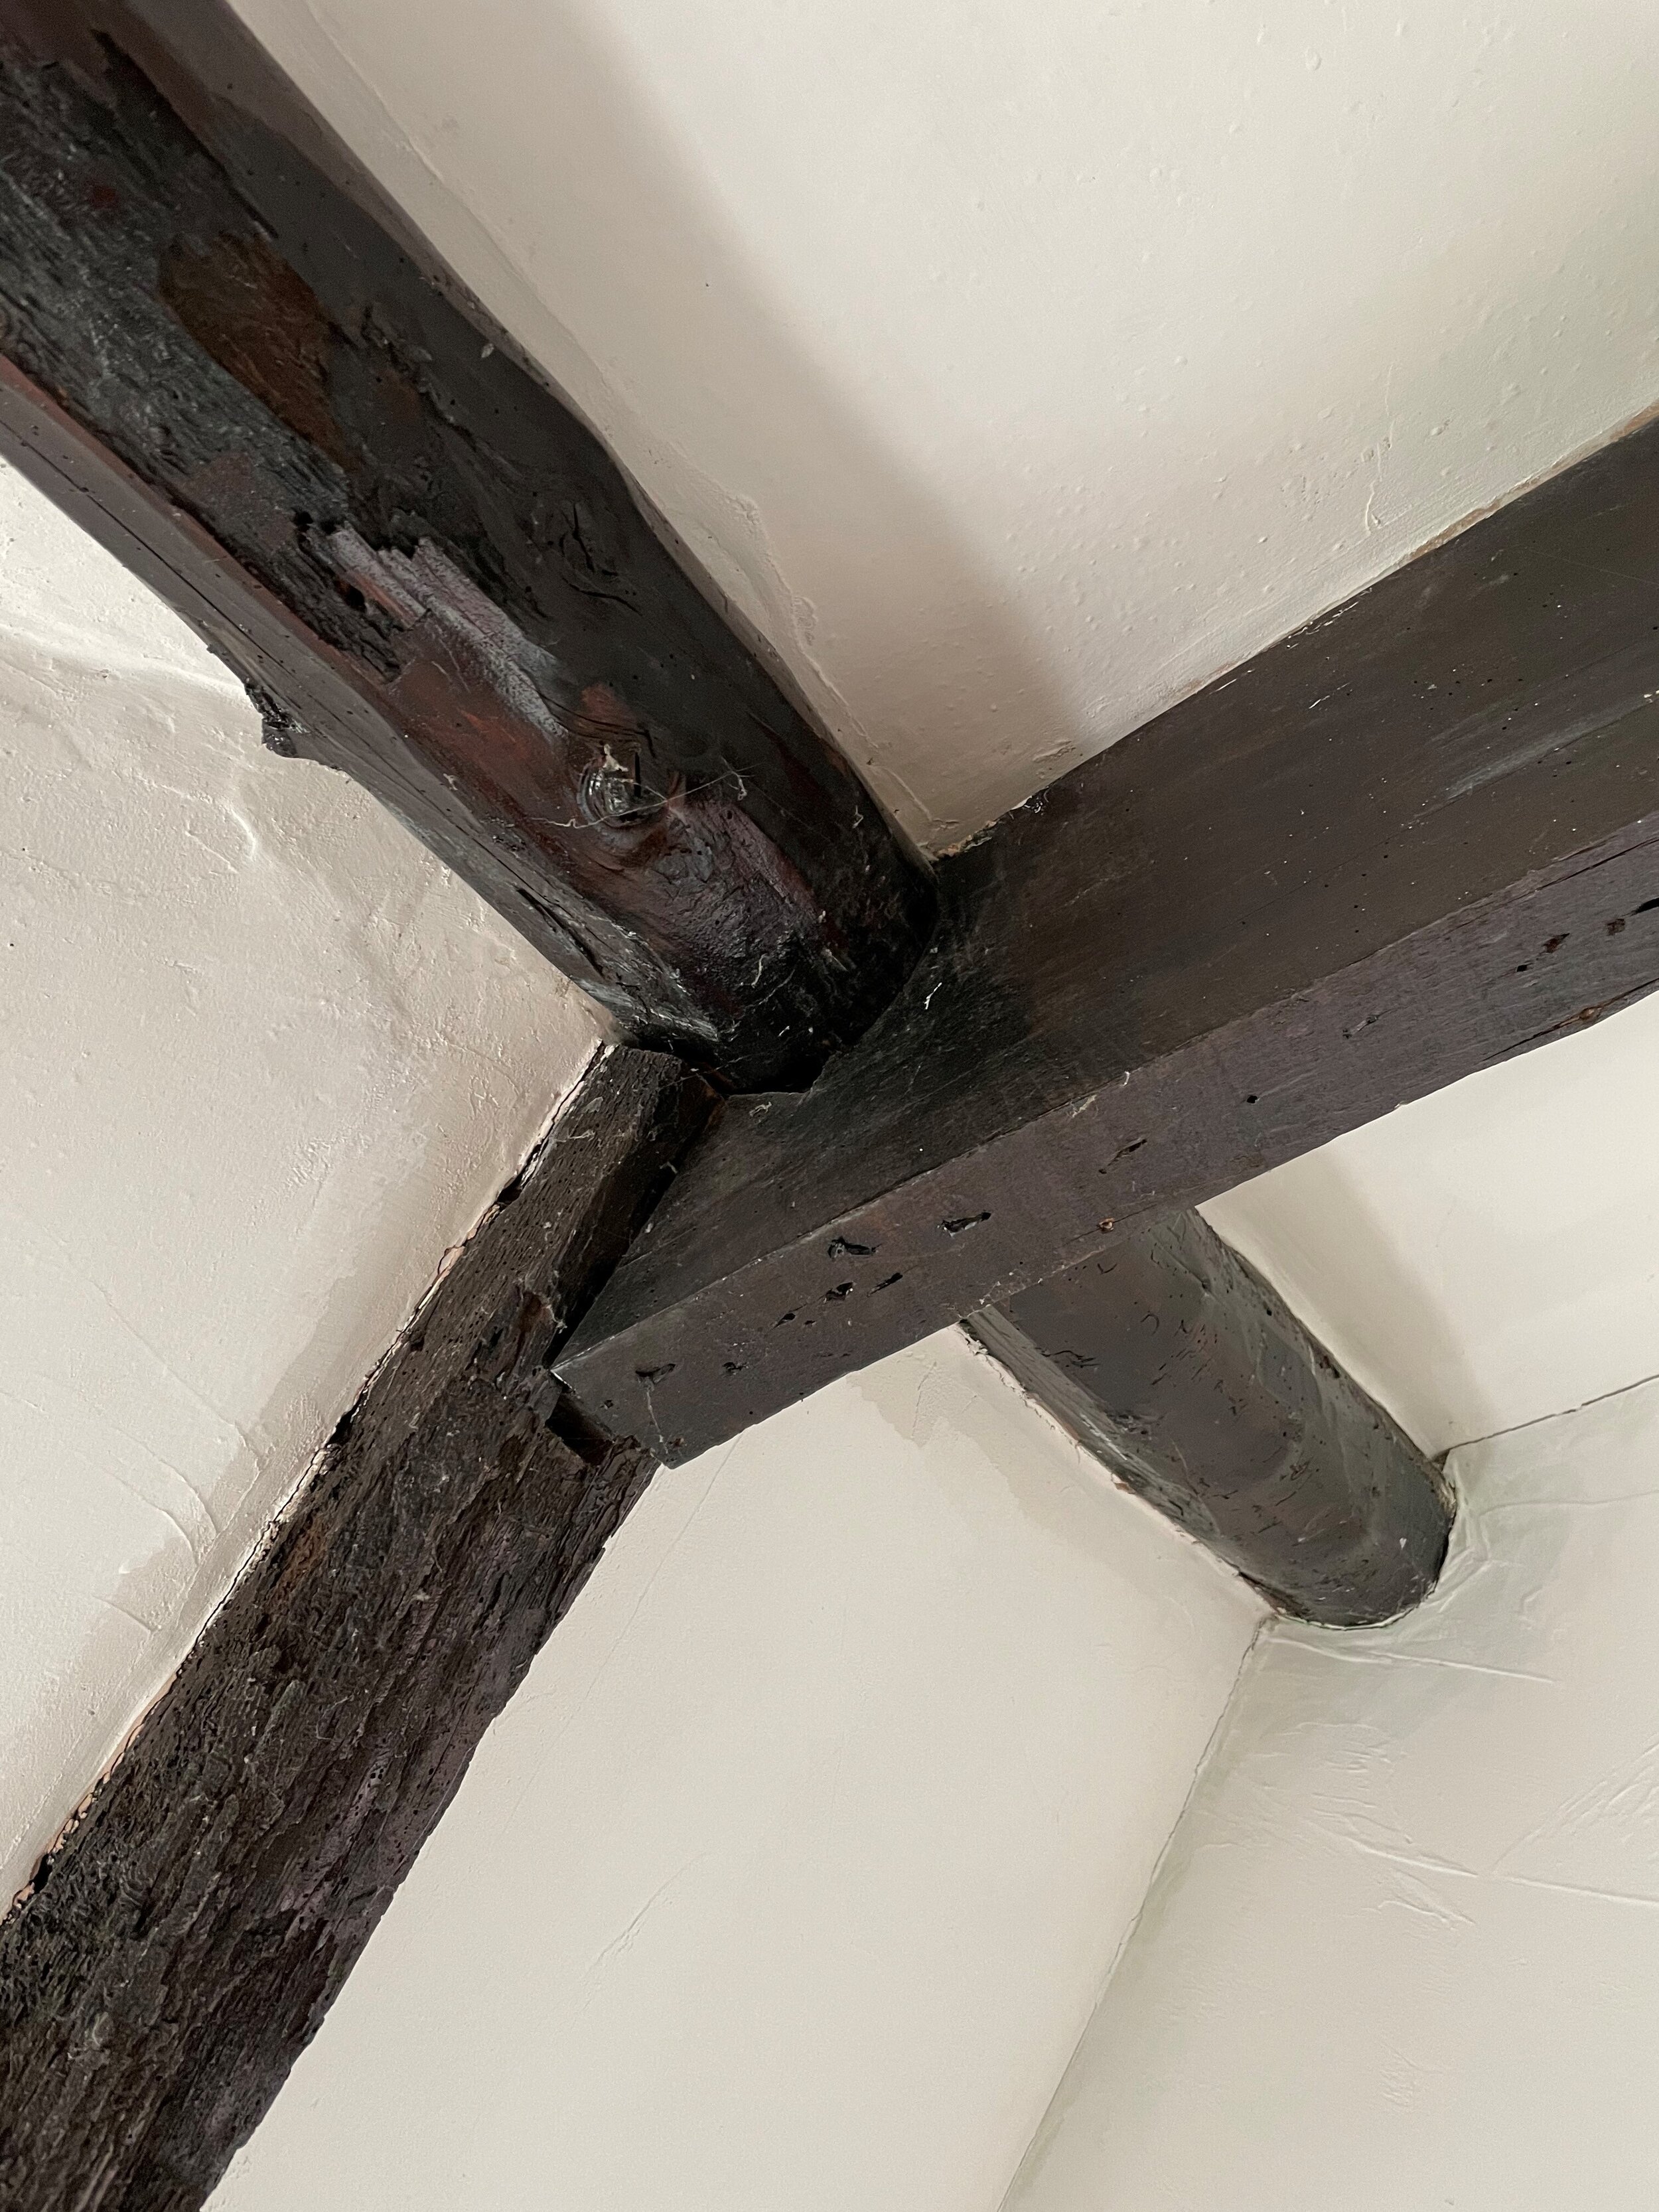
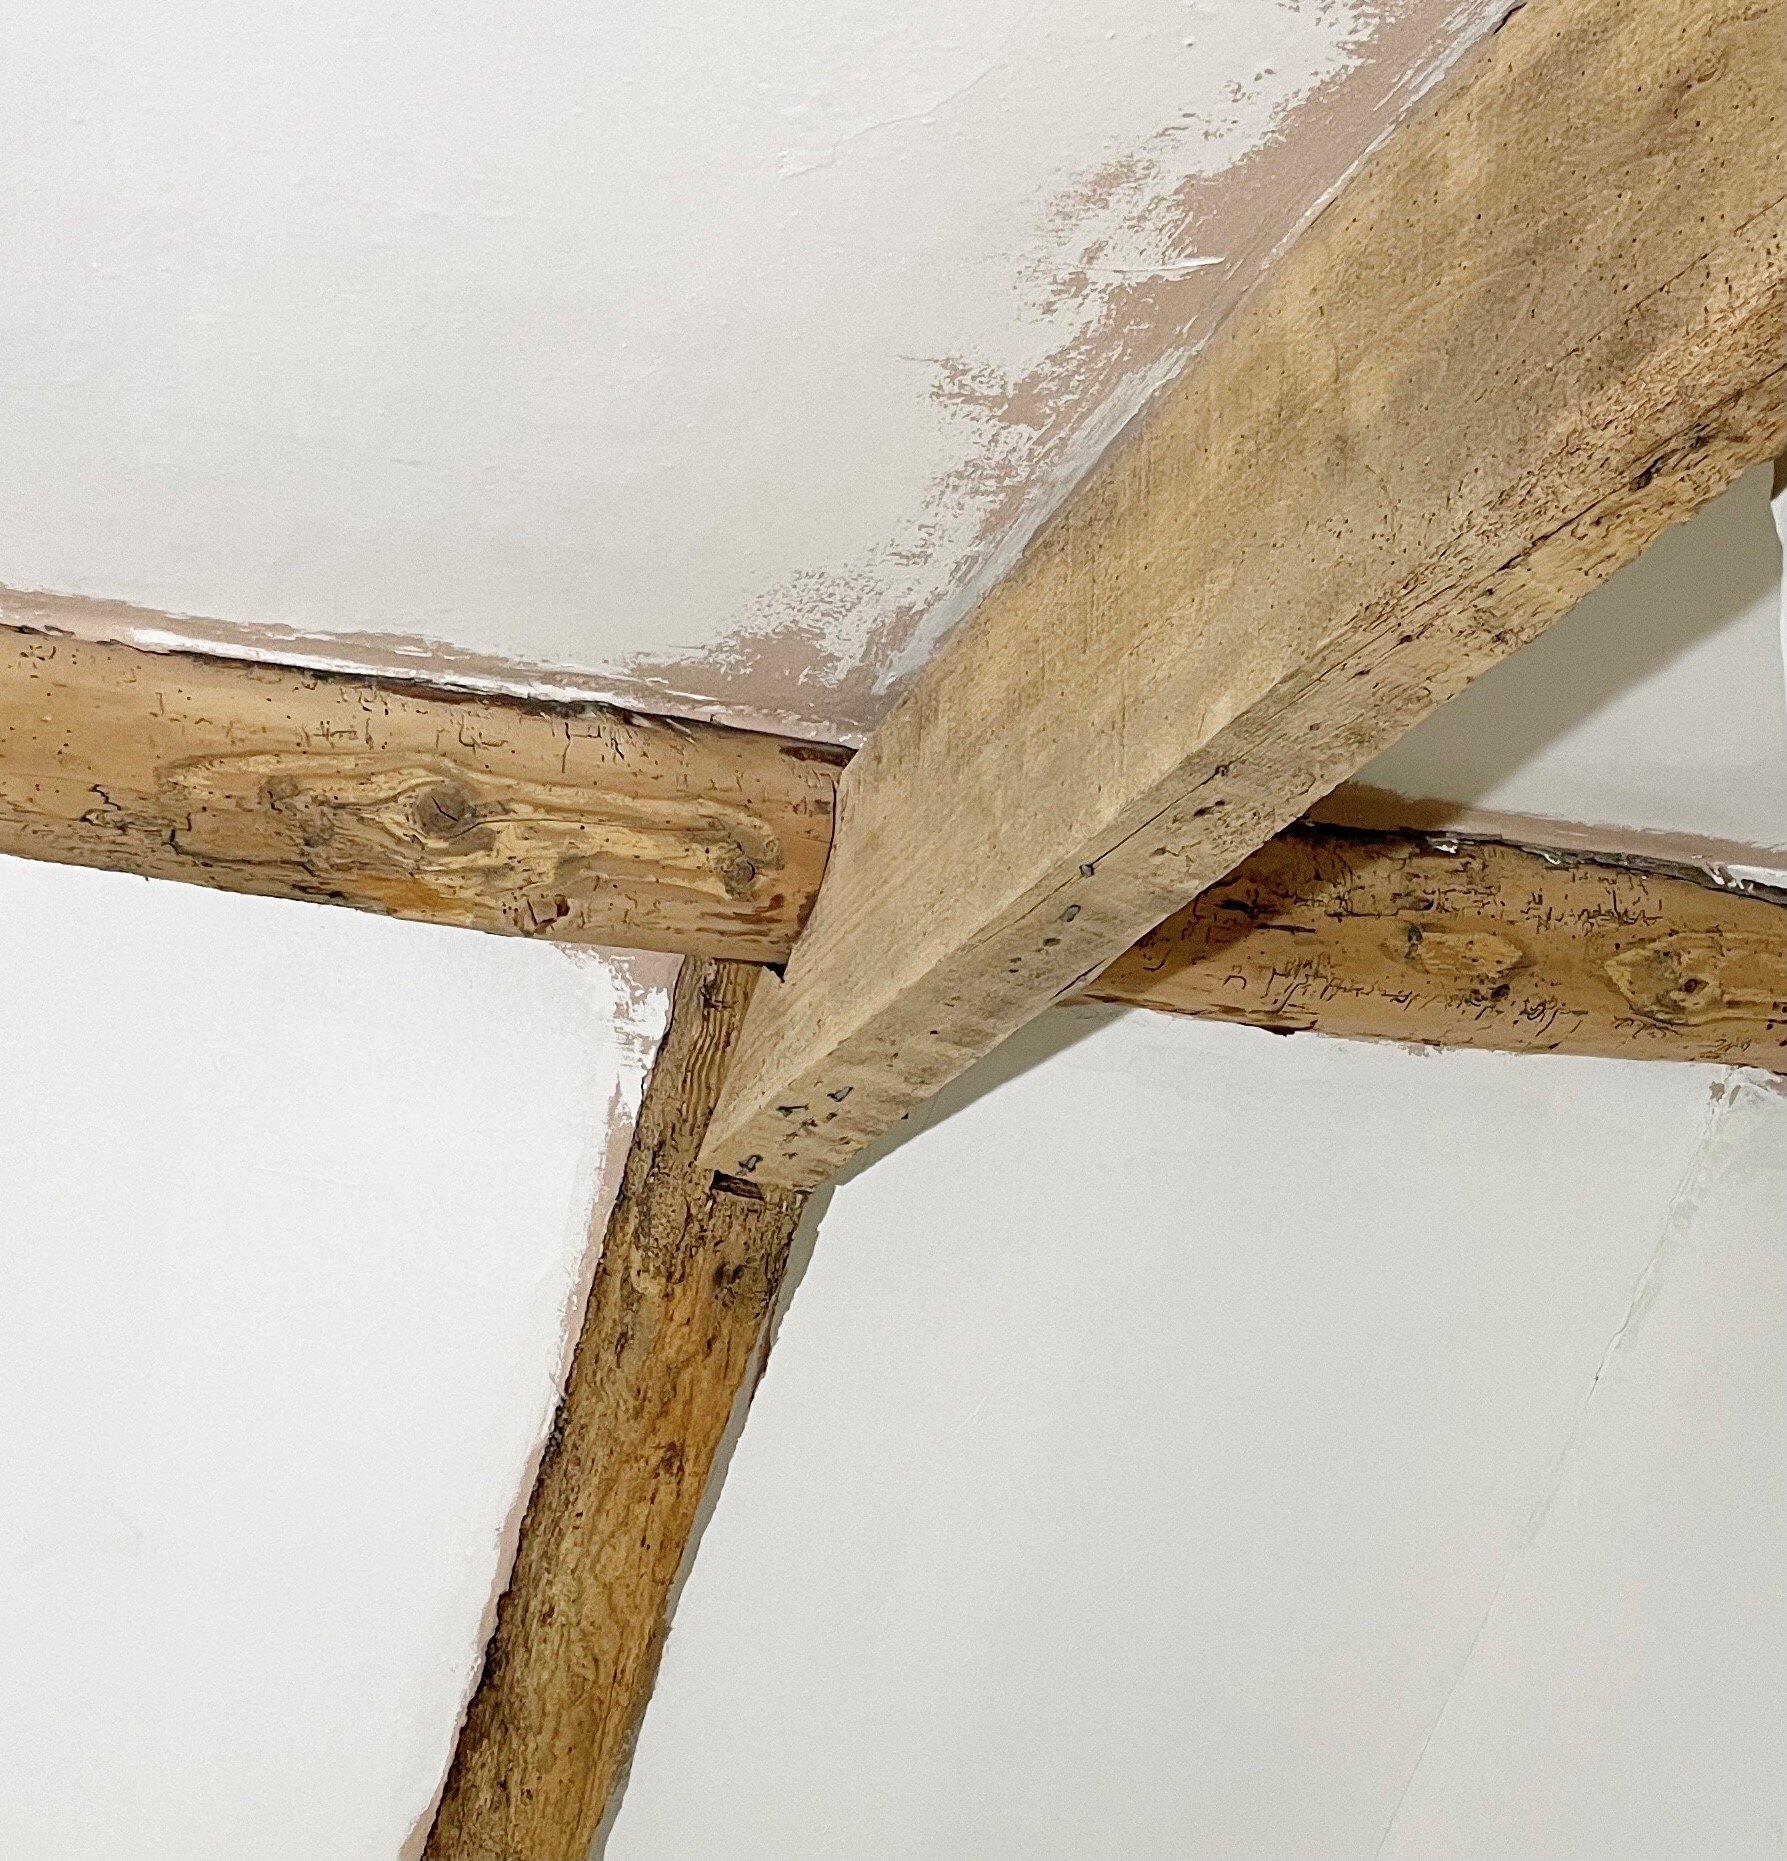
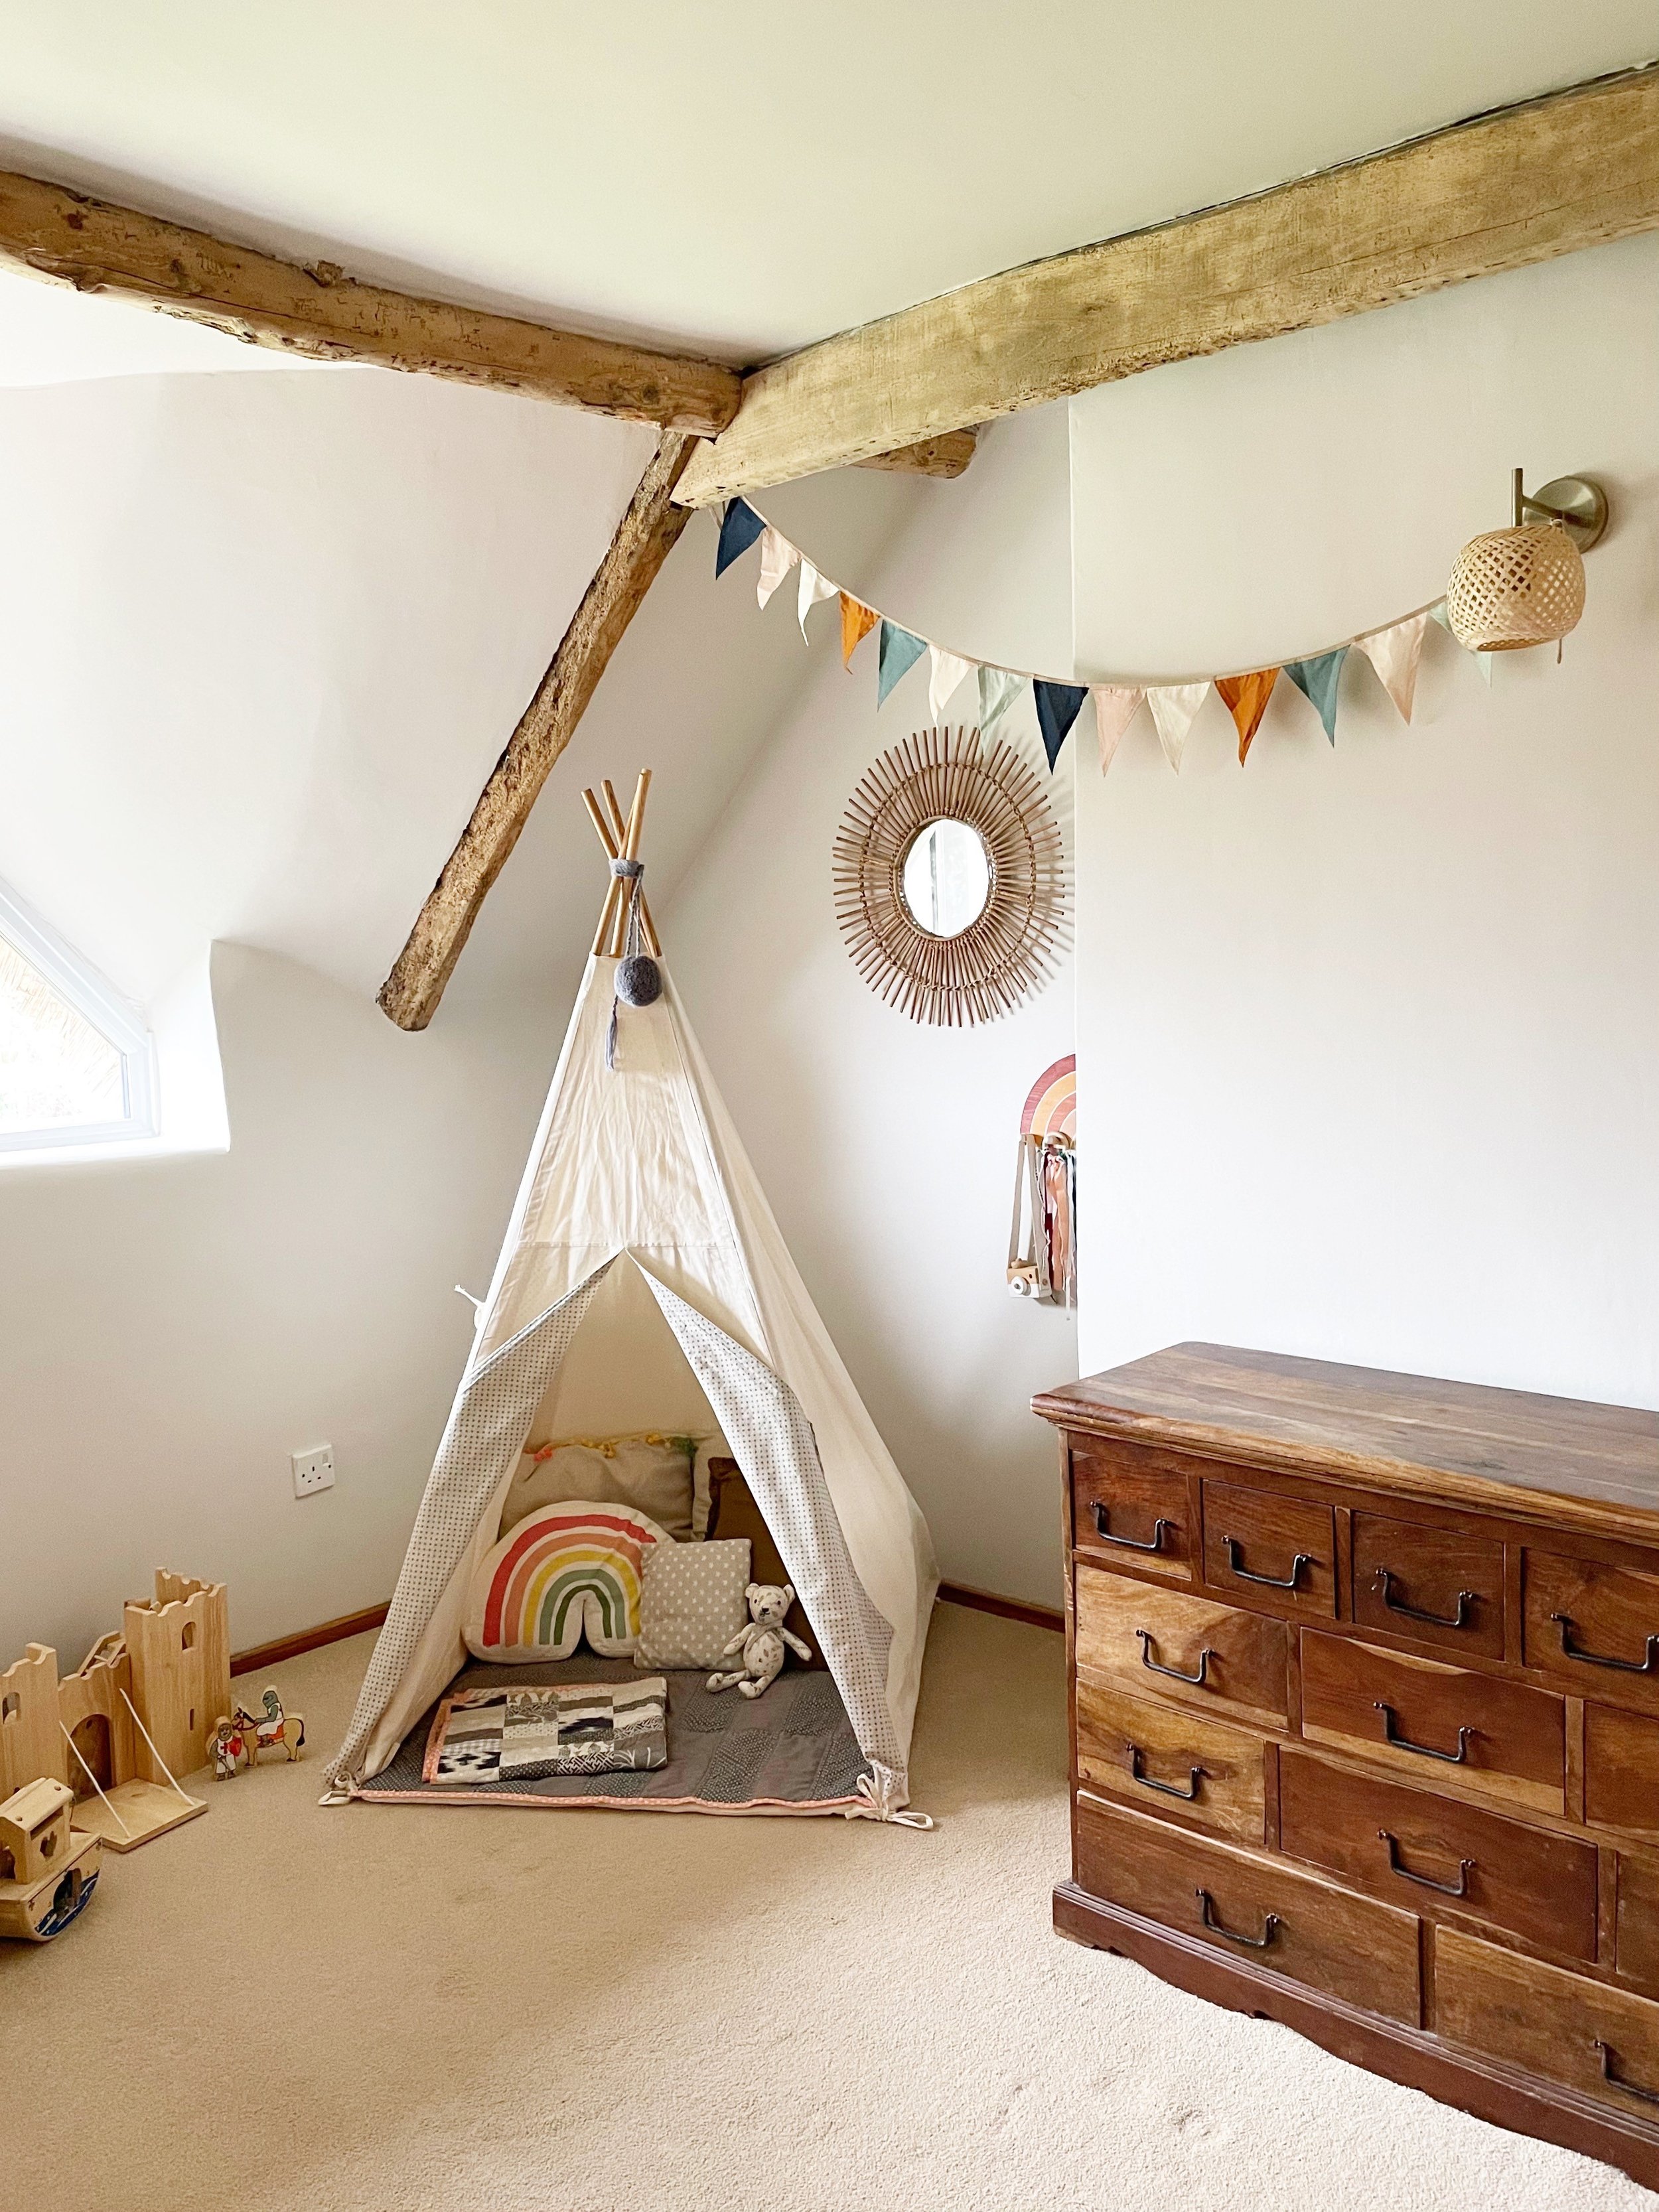
You do not know exactly how the beams will look until they are blasted. This is where it’s exciting but also a little scary. Who knows what’s under centuries of paint and dated treatments? If you’re lucky, it may be all oak beams, in great condition, finally being given a chance to show off their beautiful light grain of wood. Or it could be wood gnarled with wood worm, sleepers with so much creosote that even a sandblaster can’t remove the dark staining, or cheap pine that’s been installed more recently and may just look better painted.
The walls around the beams will be damaged and have paint removed in the process, so please wait ‘til after sandblasting to do any decorating!
To wax or not to wax your exposed beams?
After the sandblasting is finished, you need to make the decision on how to treat your beams. Our sandblaster offered a waxing treatment but at £800 extra, and with no conclusive evidence whether it was necessary or not, we decided to go without. However, I think it is best for you to do your own research on this one.
As I said, whilst I researched this issue, I found many people who had waxed their beams, and many who hadn’t. I really wanted our beams as light as possible so didn’t want the risk of them darkening after waxing. Almost one year on, the beams are all fine and holding up well. Beams around door frames aren’t in particularly high traffic areas and aren’t greasy or grubby, however I am sure time will tell, and maybe in ten years I may think differently!
If the waxing is out of your budget, you can always do this part of the job yourself, of course. However, make sure you do lots of research on the best treatment to use, and do some sample areas too before you fully commit. Our sandblaster also said to be wary of using oil as it can make some woods go orange over time.
The cost of sandblasting
Obviously the price is completely relative to your trades person, location and how many beams you need blasting. As a guide though, we had 63 beams blasted at a cost of approx £3200. We live in the south of England, in an area not quite as expensive as London but near enough. As I mentioned before, the waxing would have cost an extra £800 on top of that. It took one man five days, so it’s fair to say it’s not a cheap job at all! We had a few remote quotes from other companies that I’d found online, but they were between £4000-£6000.
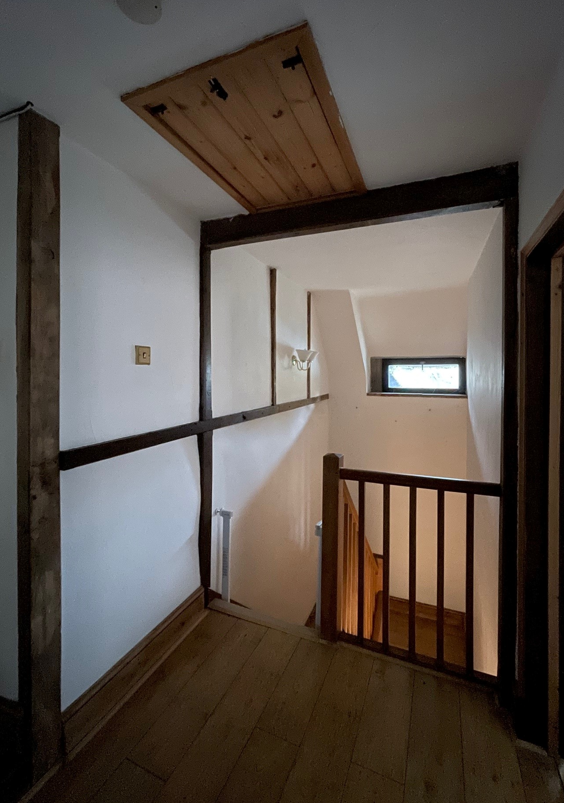
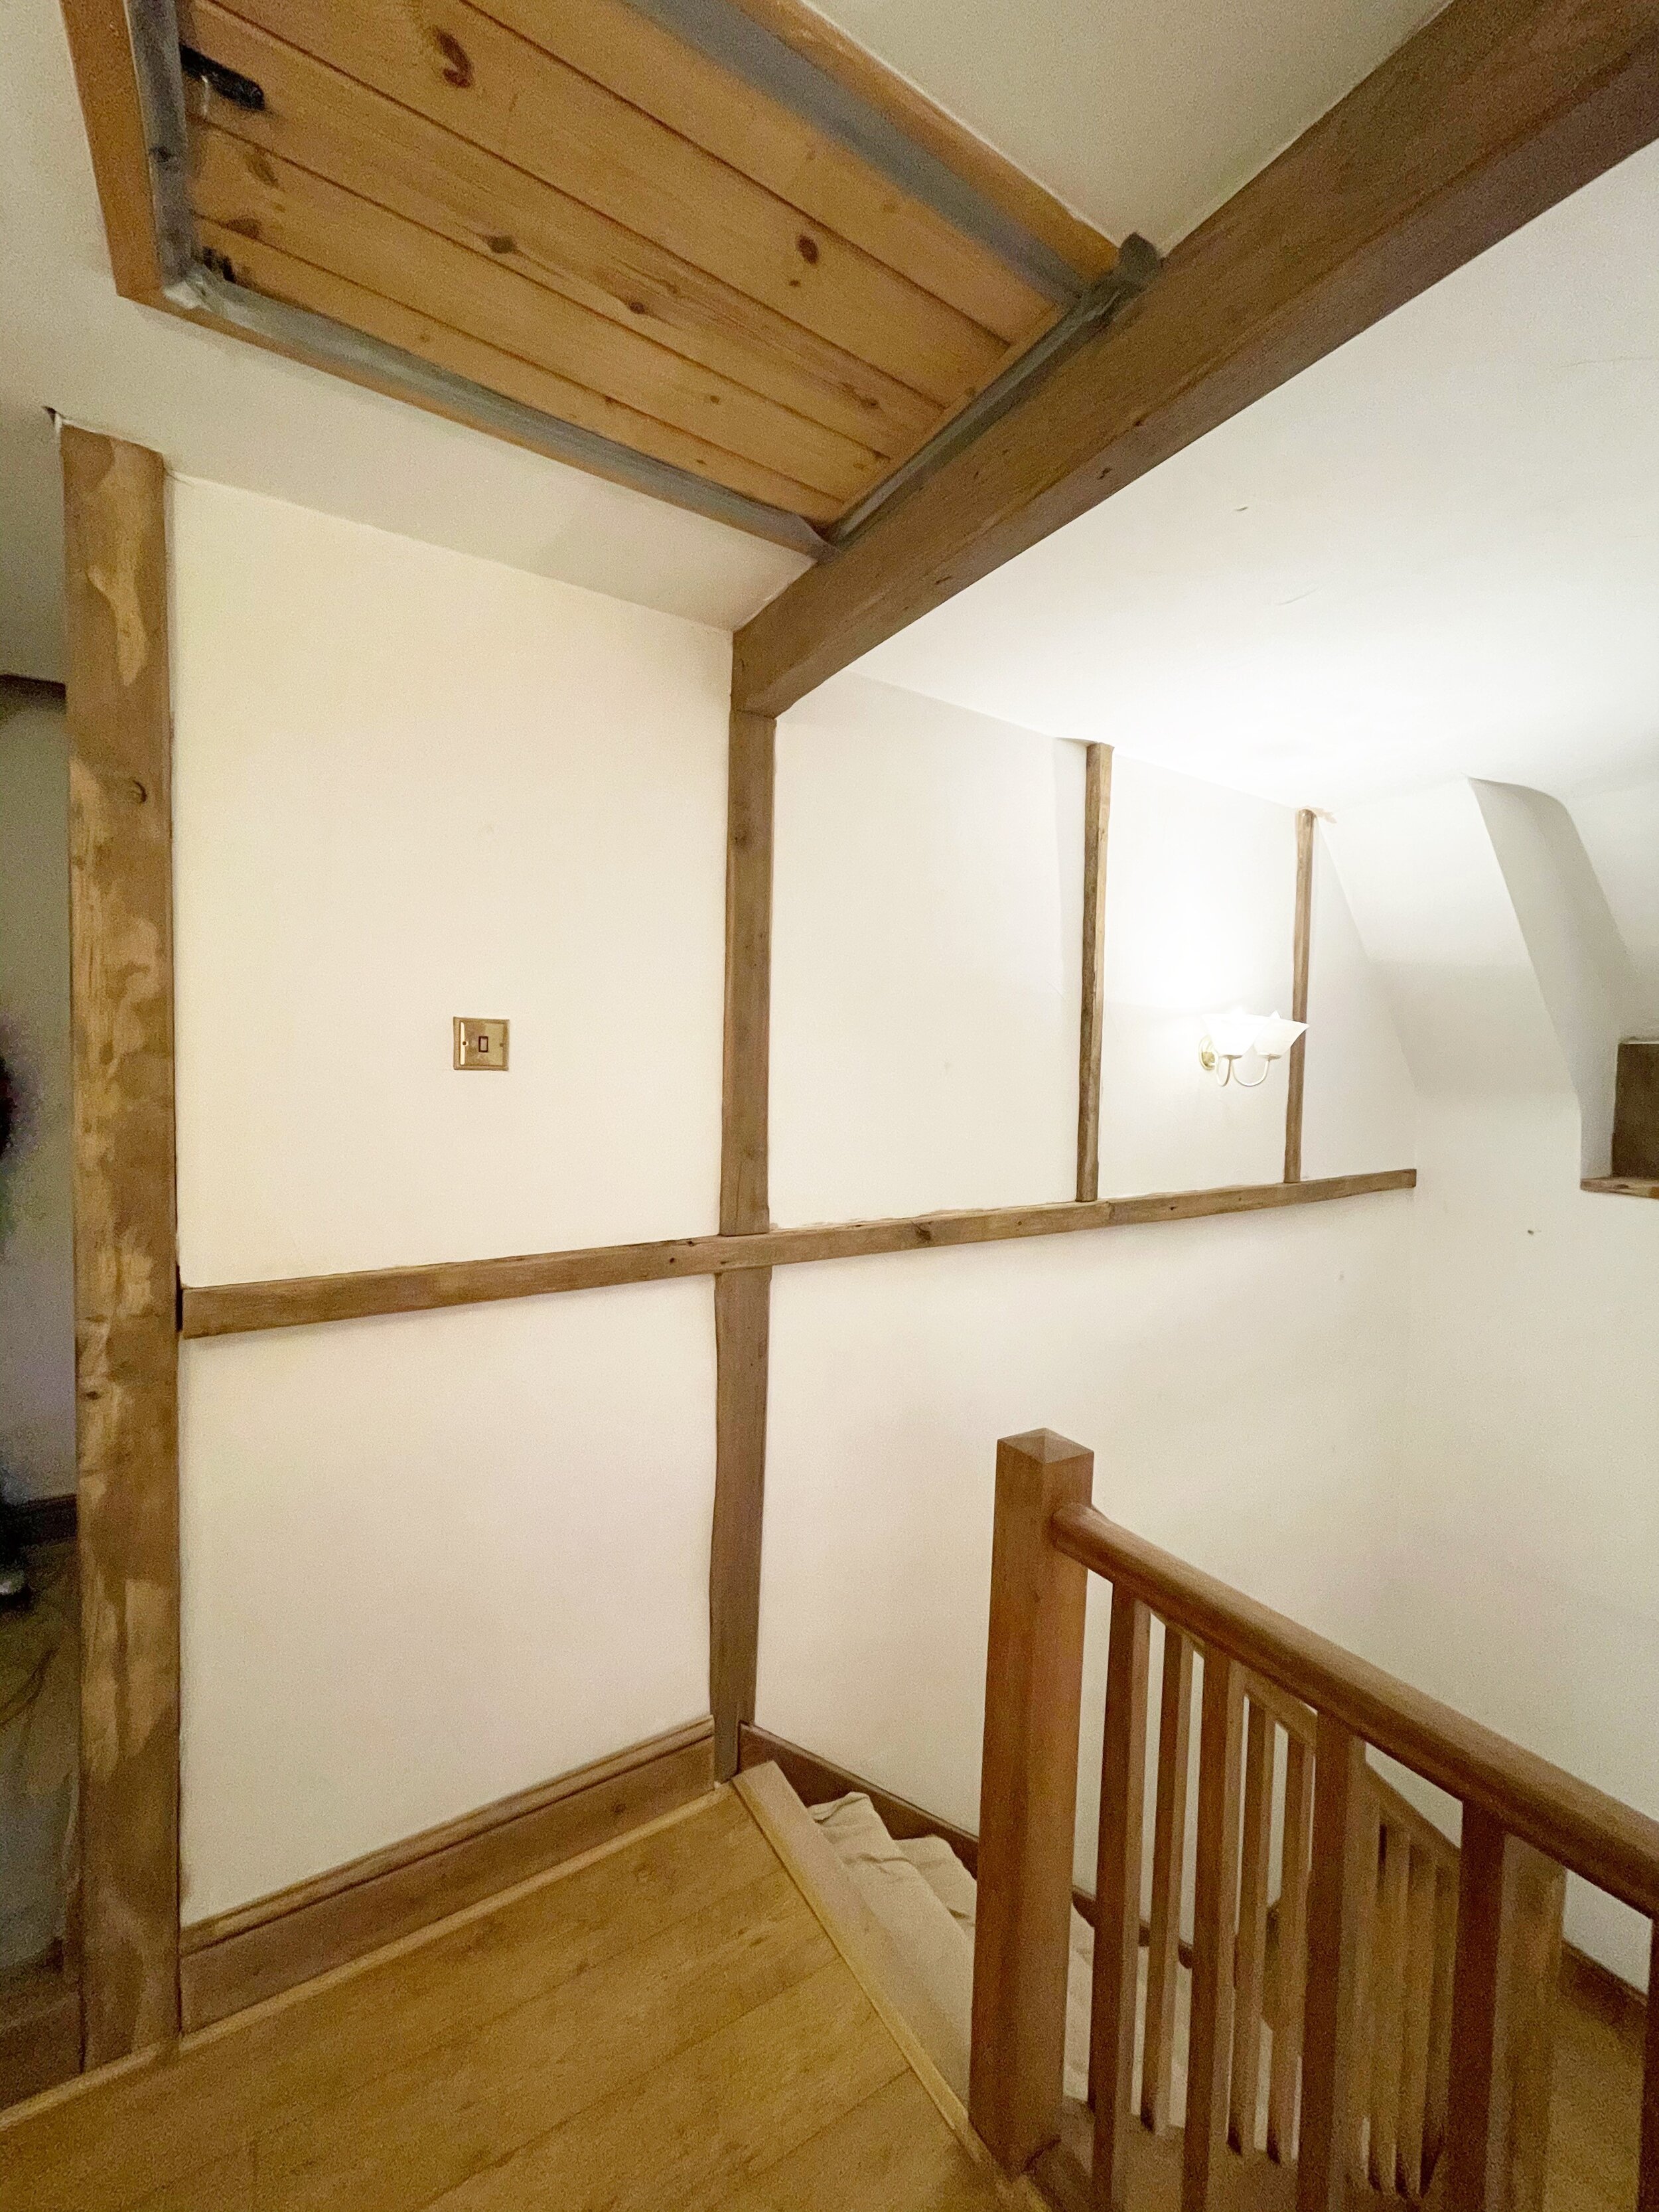
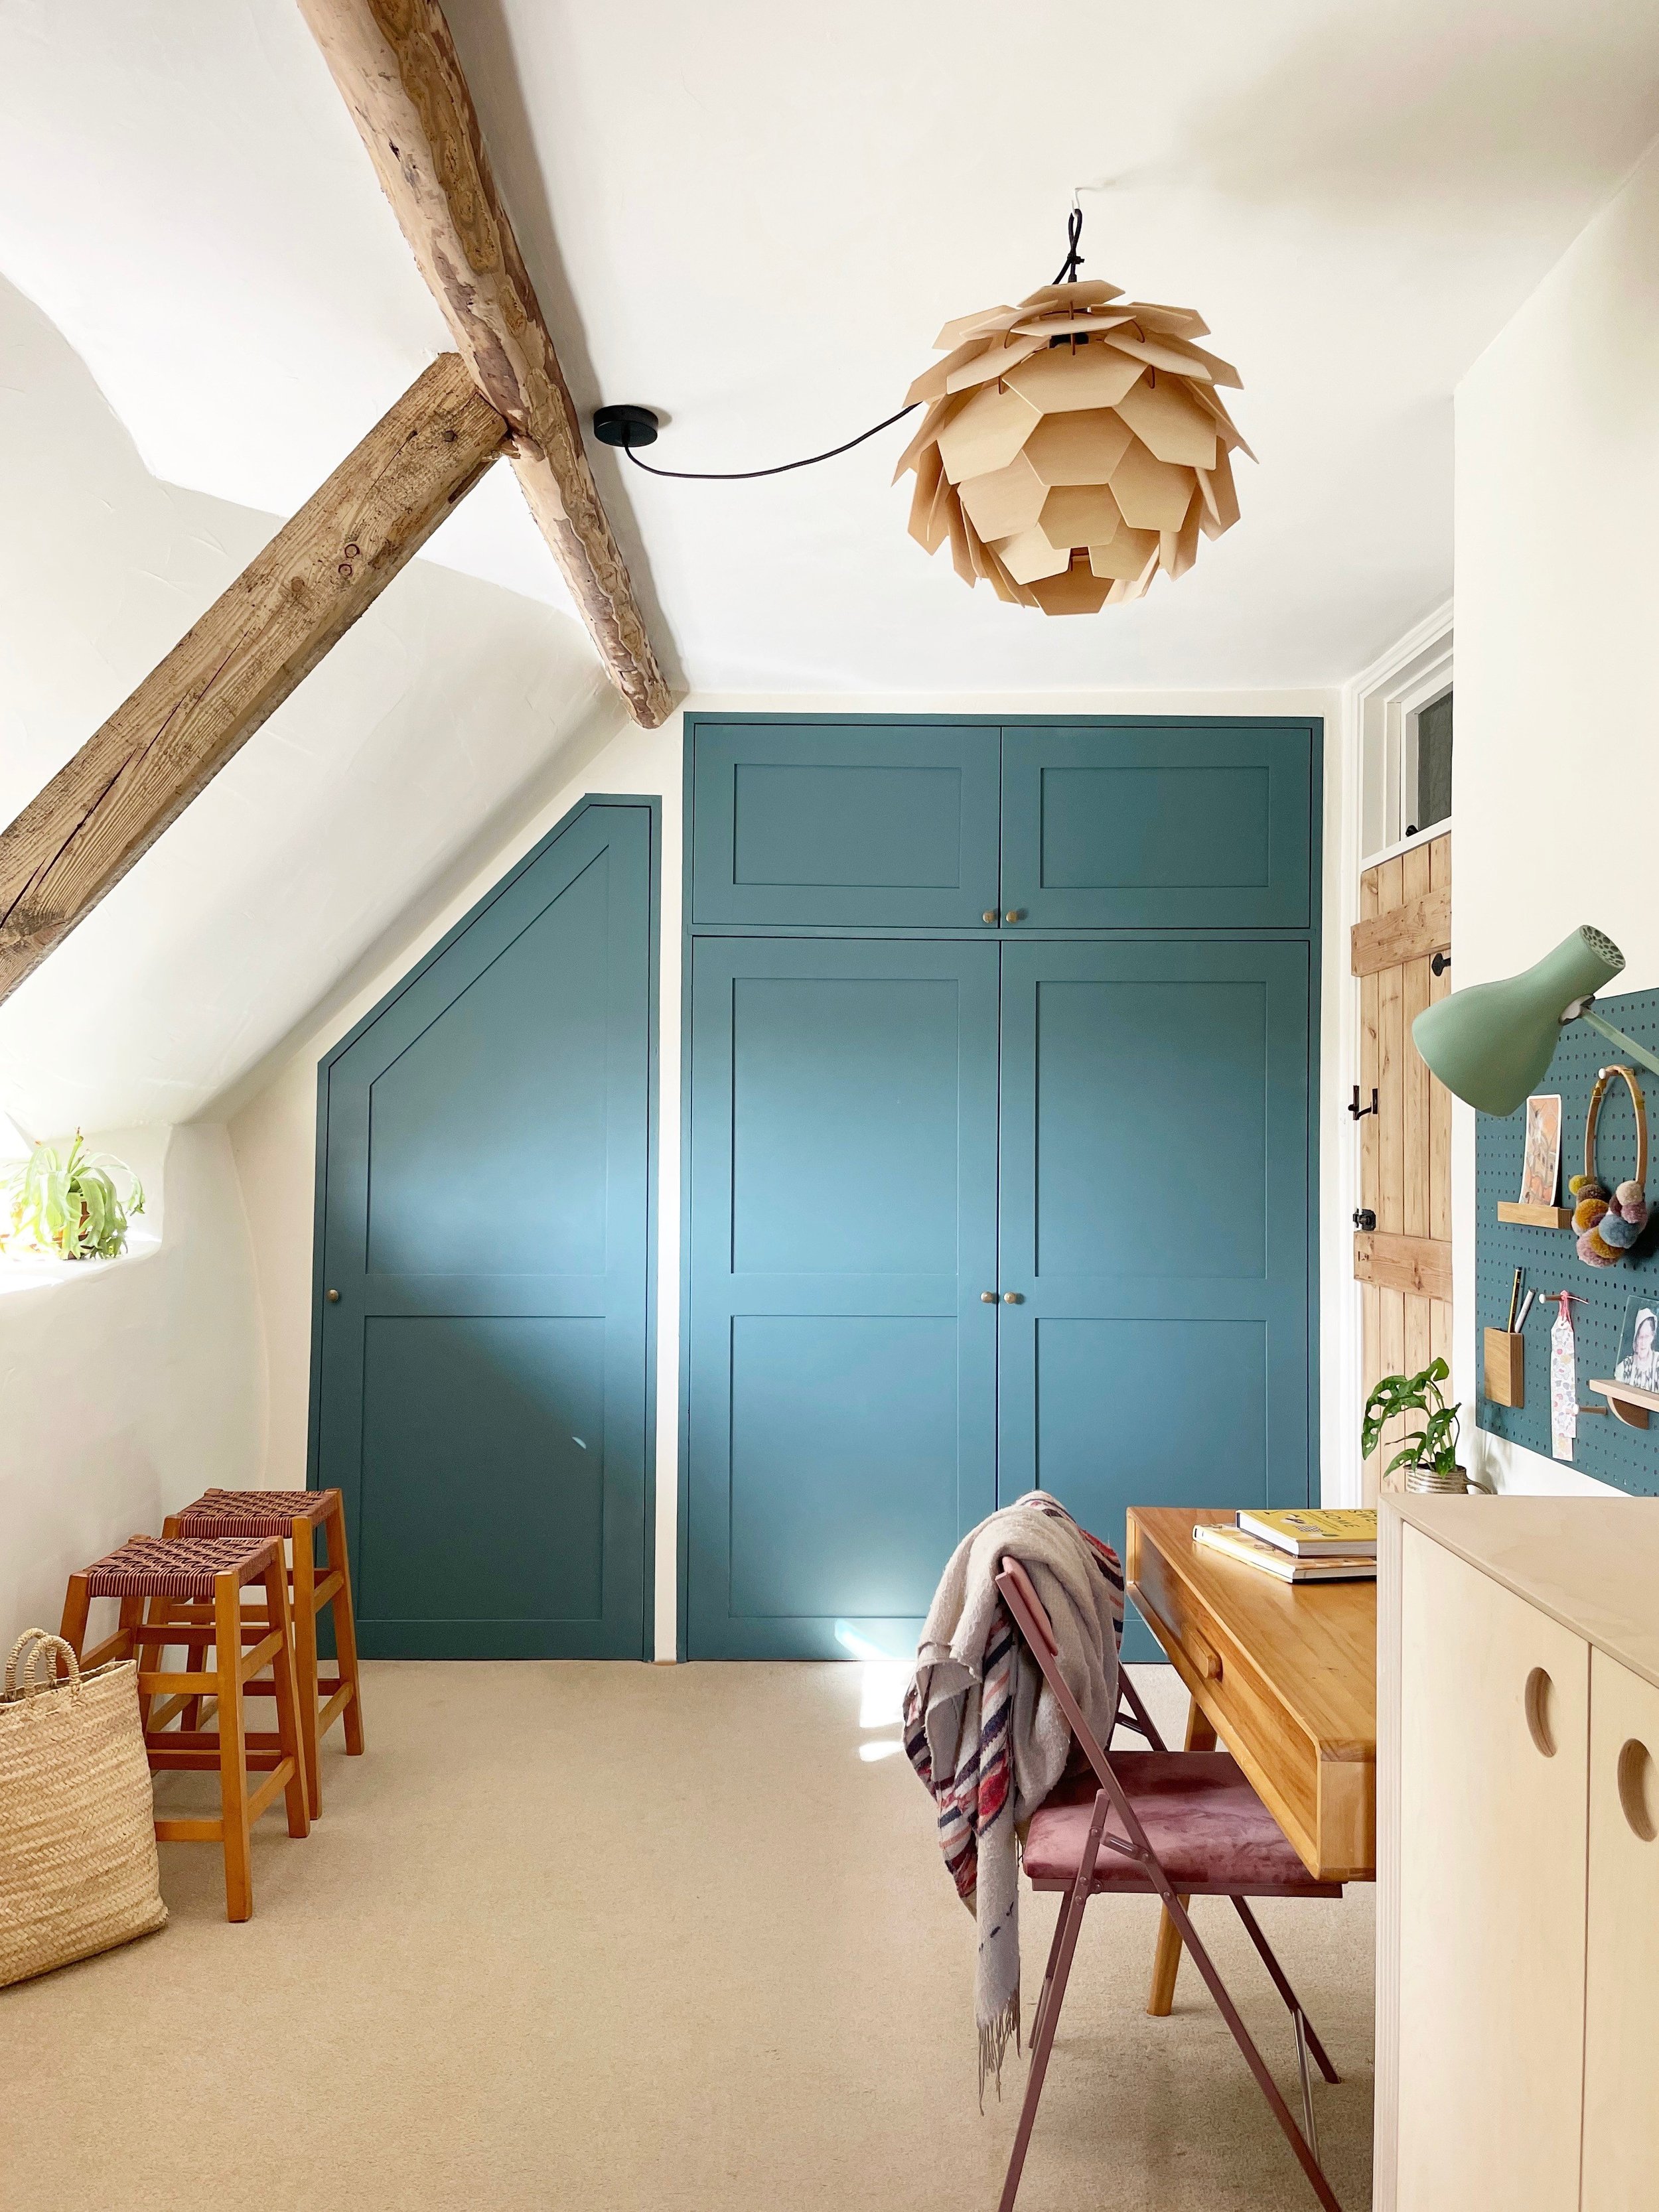
As you can see the sandblasting has made a huge difference to the feel of the home. We still have heaps to do and it took a sizeable chunk of our budget but we don’t regret it one bit. The dark beams would have made any attempt at brightening the space futile, as they just overpowered everything. If we had invested time and money into decorating, it would have been heart-breaking to see our efforts damaged by the sandblaster too, so I am so pleased we bit the bullet and went for it!
Are you thinking of sandblasting? Let me know if you have any questions in the comment section below or @theottohouse on Instagram.