
Limepaint - what went wrong and why I won't be using it again
Lime paint or lime wash is a natural eco-friendly paint which, when applied with a brush, creates a beautiful textured finish and thanks to modern companies like Bauwerk Colour and Kalkliter, comes in a wide range of stunning colours. So why did it all go so wrong?
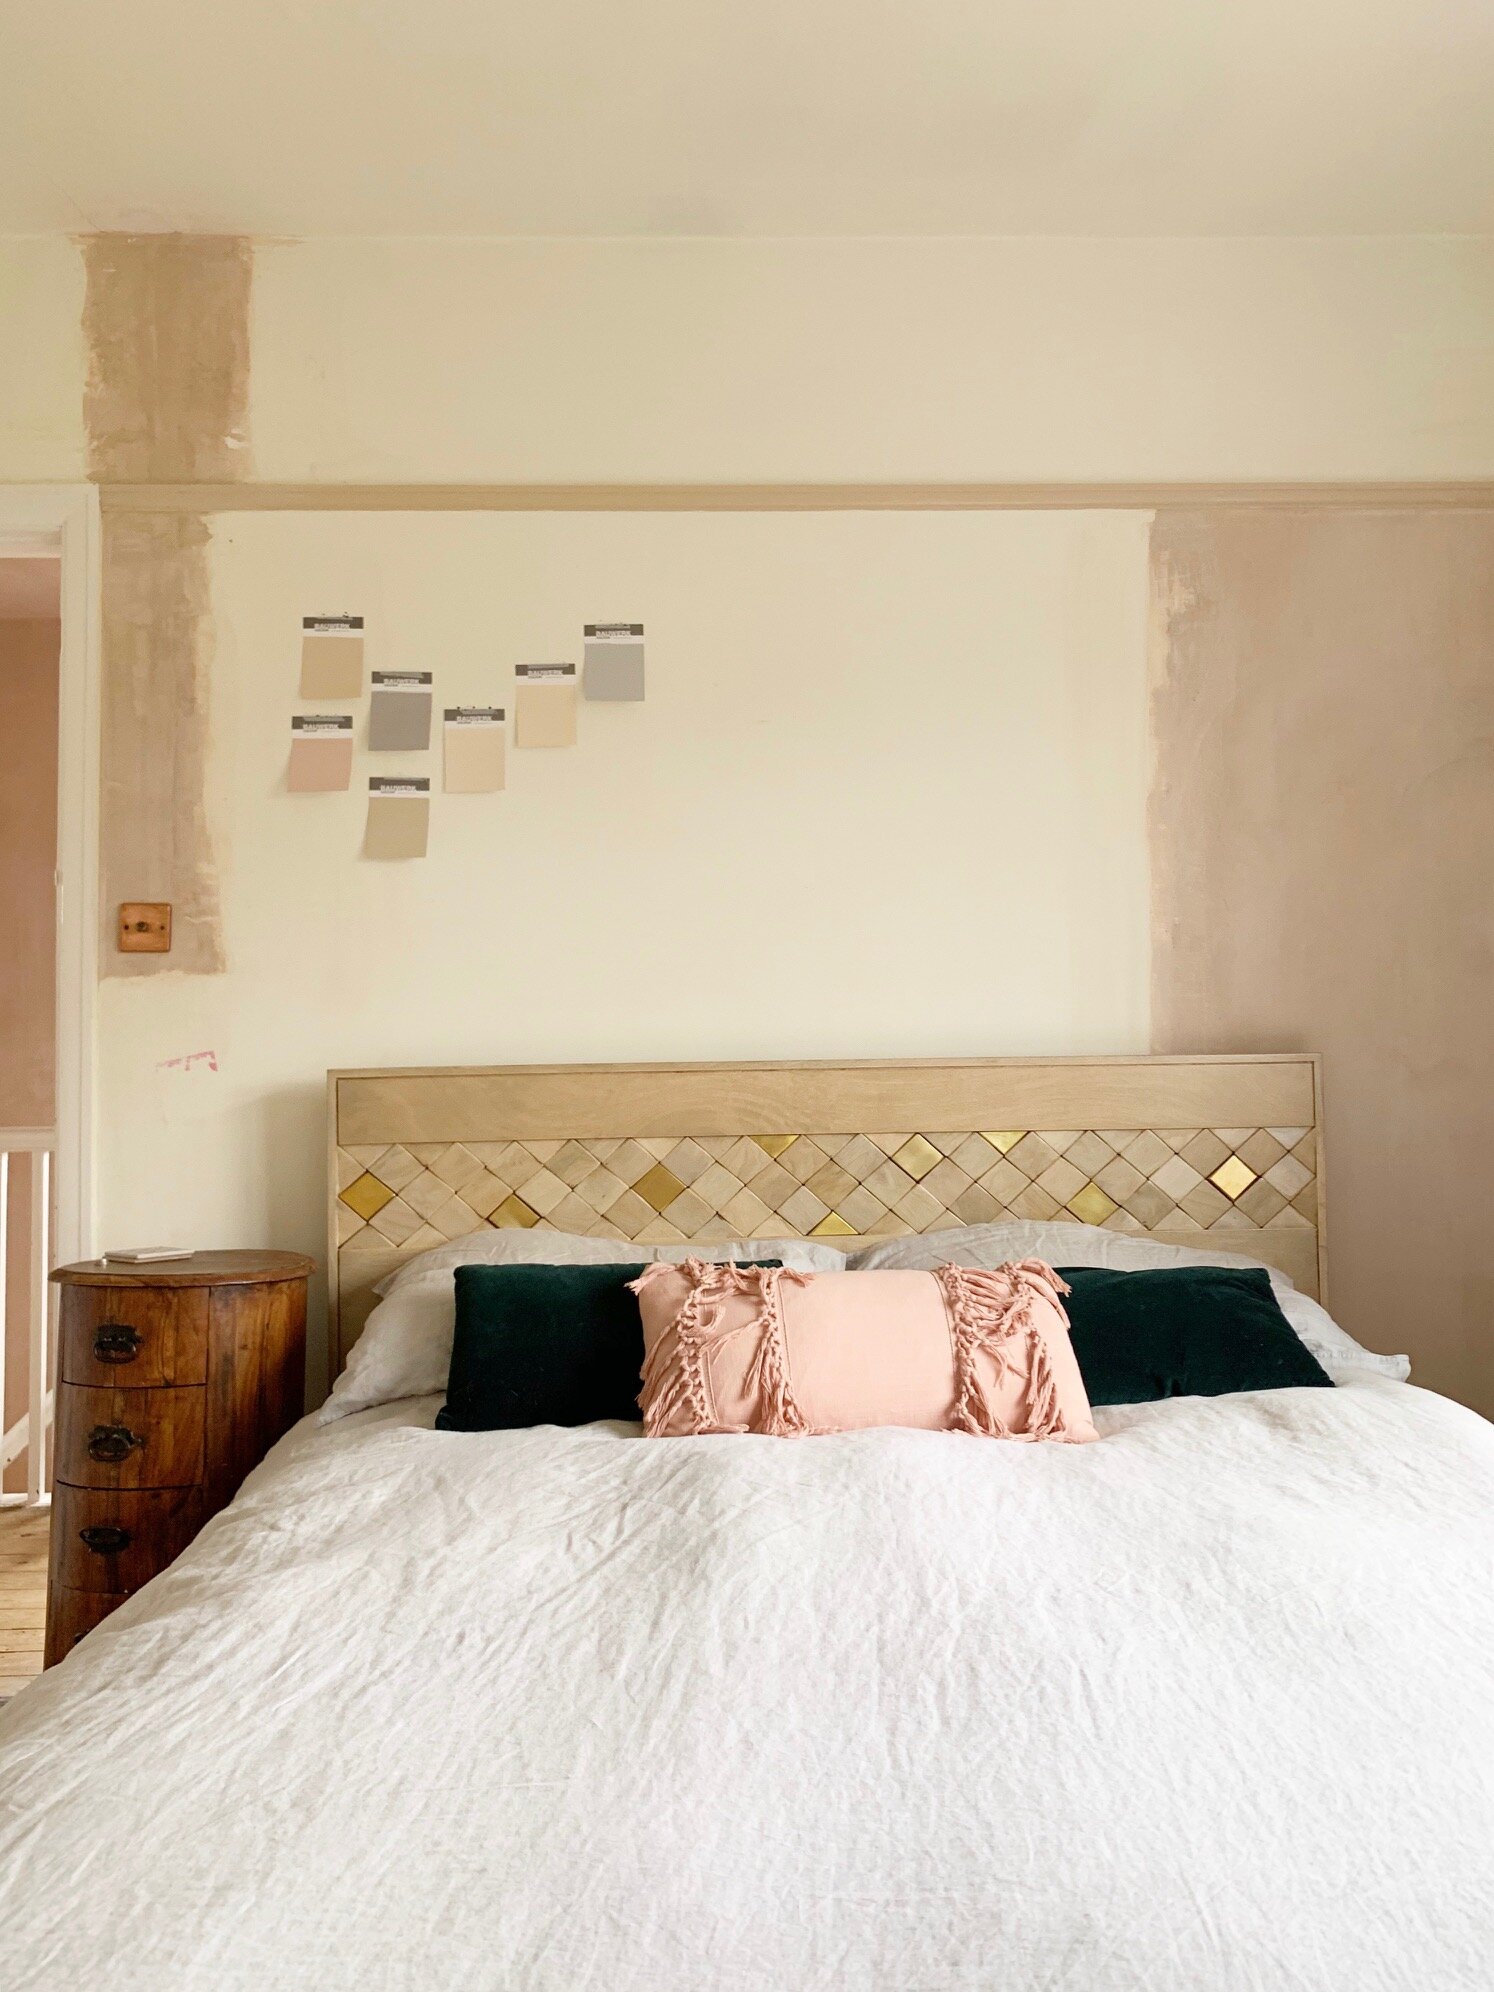
I have loved the look for a while, whether it be in Moroccan décor or in more contemporary settings and I felt this paint might just be the 'piece de resistance' needed in our bedroom. I like the calming nature of an all-white bedroom but felt by injecting some texture it would help give it depth and interest (a bit like our old bedroom which was all-white apart from an exposed brick wall.)
After purchasing many samples from the companies mentioned above, I saw this post (pictured below) on Bauwerk's Instagram and decided this would be the colour for us. It required two coats of Slate and one coat of Whitewash and voila, a beautiful textured white wall.


If only it was that simple.
First off, I want to make it clear that I am at fault here as much as the product. I perhaps rushed into this job a little too much and could have done more research. The brand talks a lot about how this paint hasn't got any chemicals in and lets your walls breath naturally thus being better for your home and for your lungs (yay!) All positives there.
However, lime paint (at least the brand I used) does not cover up what is underneath. So, if your wall is marked in anyway that will most likely still show through the paint. If you have different materials on the wall previously, the paint will react to them differently too and no matter how many coats you do (believe me, I did NINE!) it just won't cover the imperfections.
For context, our bedroom had been previously painted in what I now guess must have been a gloss or mid-sheen paint. We had some areas of the walls replastered where we had a sink taken out and new electrics installed and these areas were painted with a regular emulsion mess coat.
I wasn't aware of this at the time (I honestly didn't realise it was gloss on the walls - for one thing who puts gloss on their walls, and for another, it really wasn't that shiny) but according to the Bauwerk website, considering the different materials on our walls, we should have put, not one, but TWO coats of good quality undercoat on them before using the limepaint.
Here's the thing though, doesn't that totally undermine the natural, eco, 'it let's the walls breath' vibe if you have to slather them in chemically produced paint in order for the product to actually work?
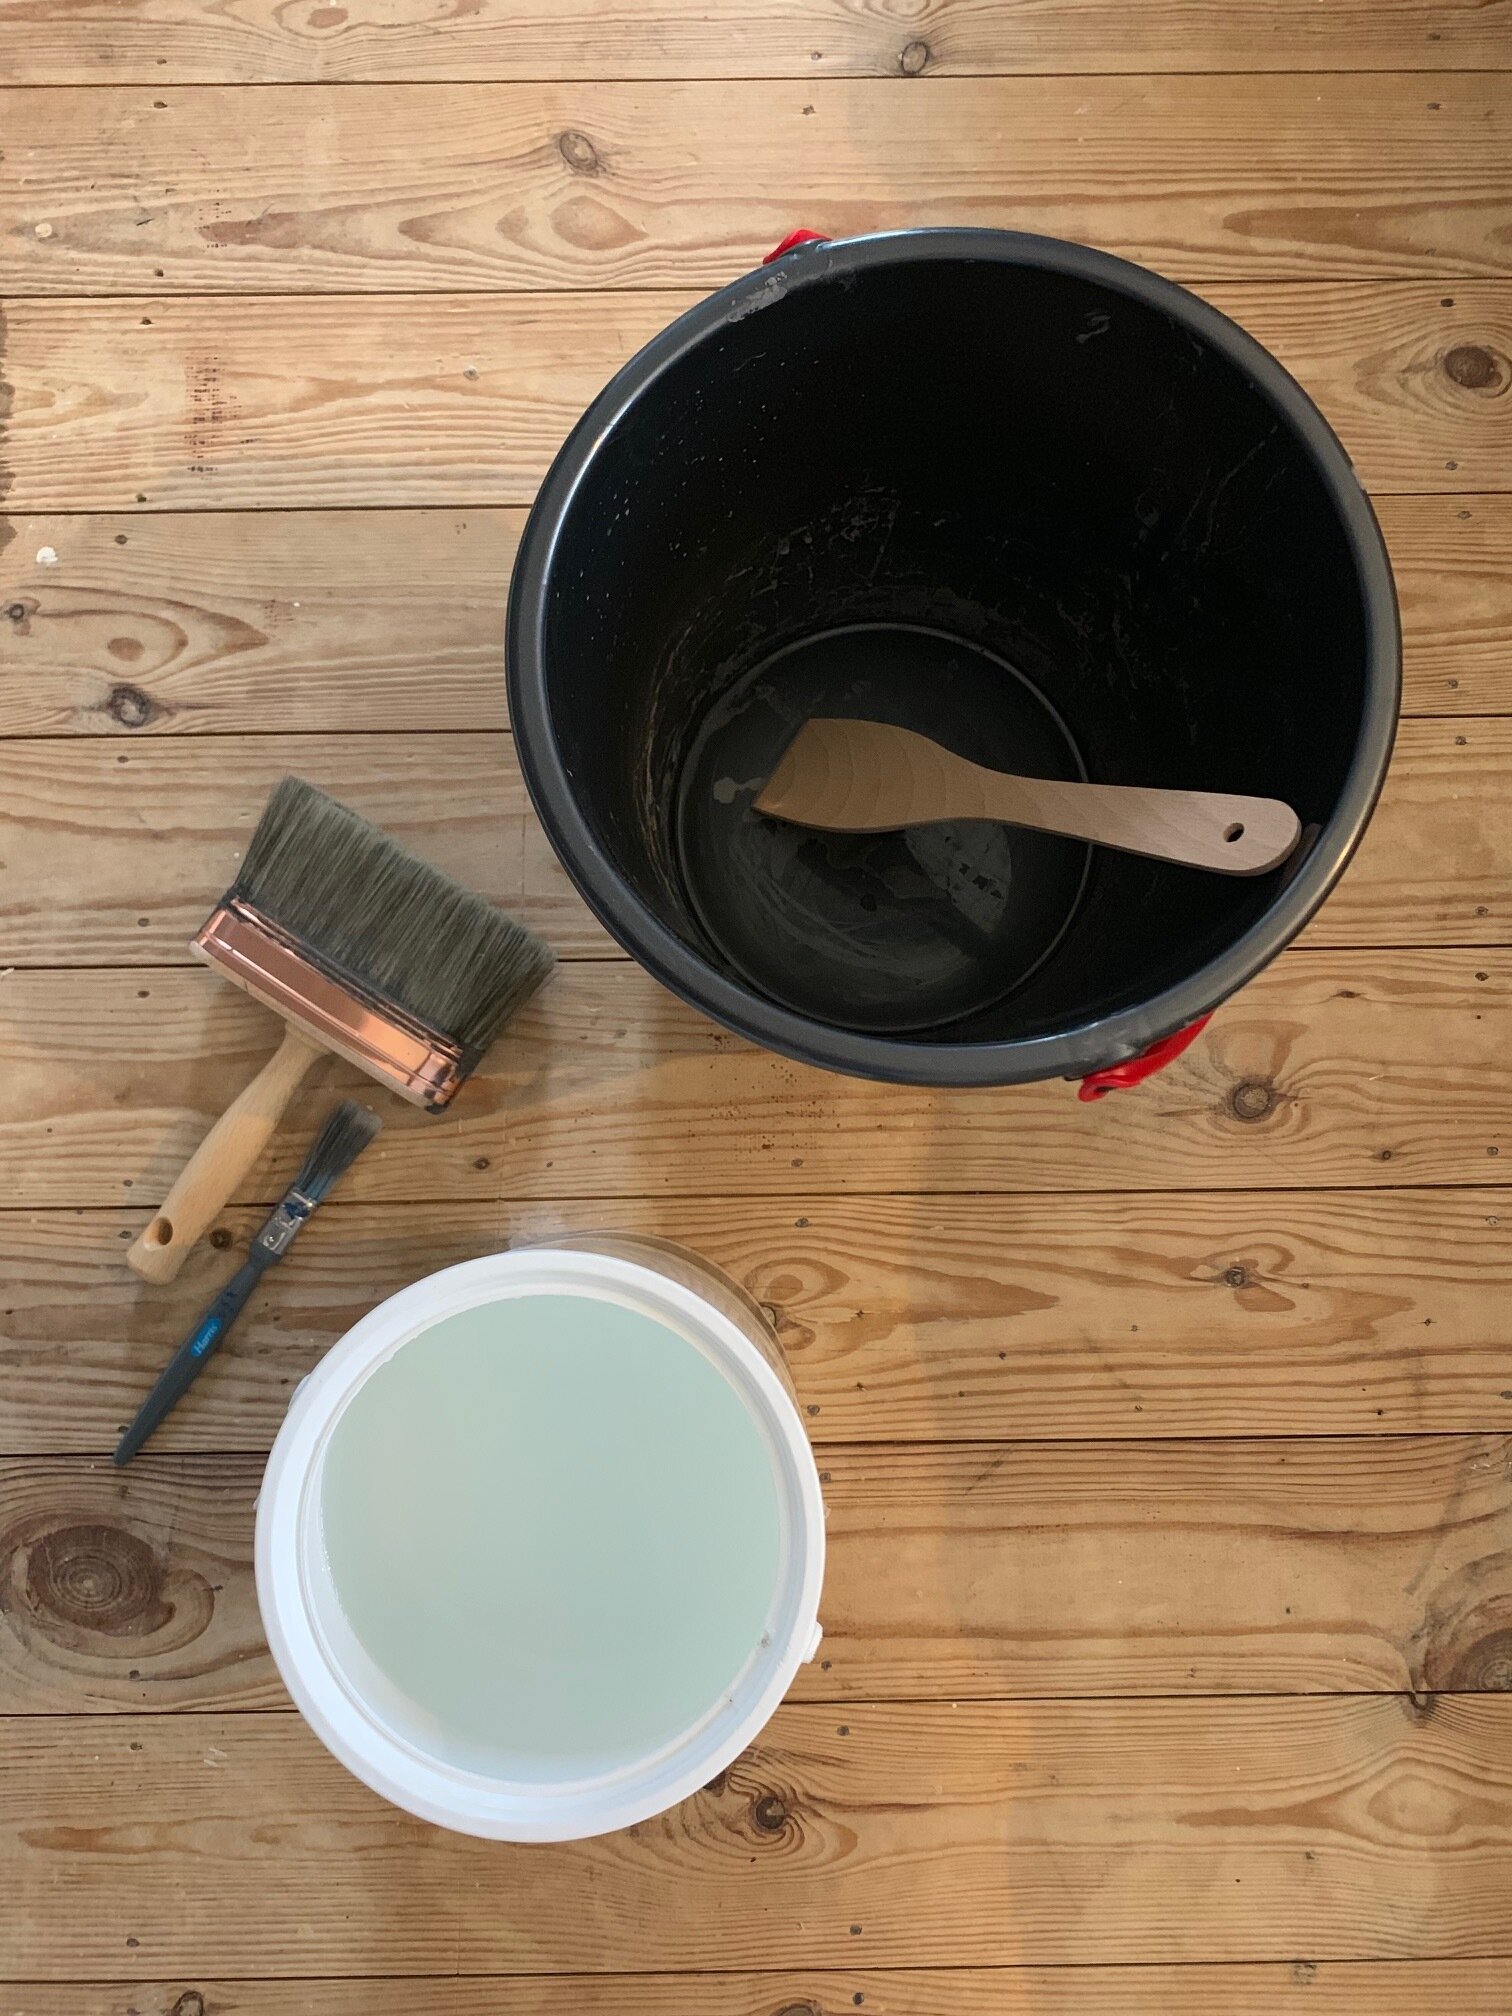
Anyway, due to me underestimating how bad our walls were and how little the paint works like regular emulsion, I went ahead and started applying the Slate. Using the brand's specialist paintbrush, I followed all the instructions to the letter about mixing, stirring and applying. It was actually great fun using a brush to paint, and because the consistency is like water, it goes on really quickly.
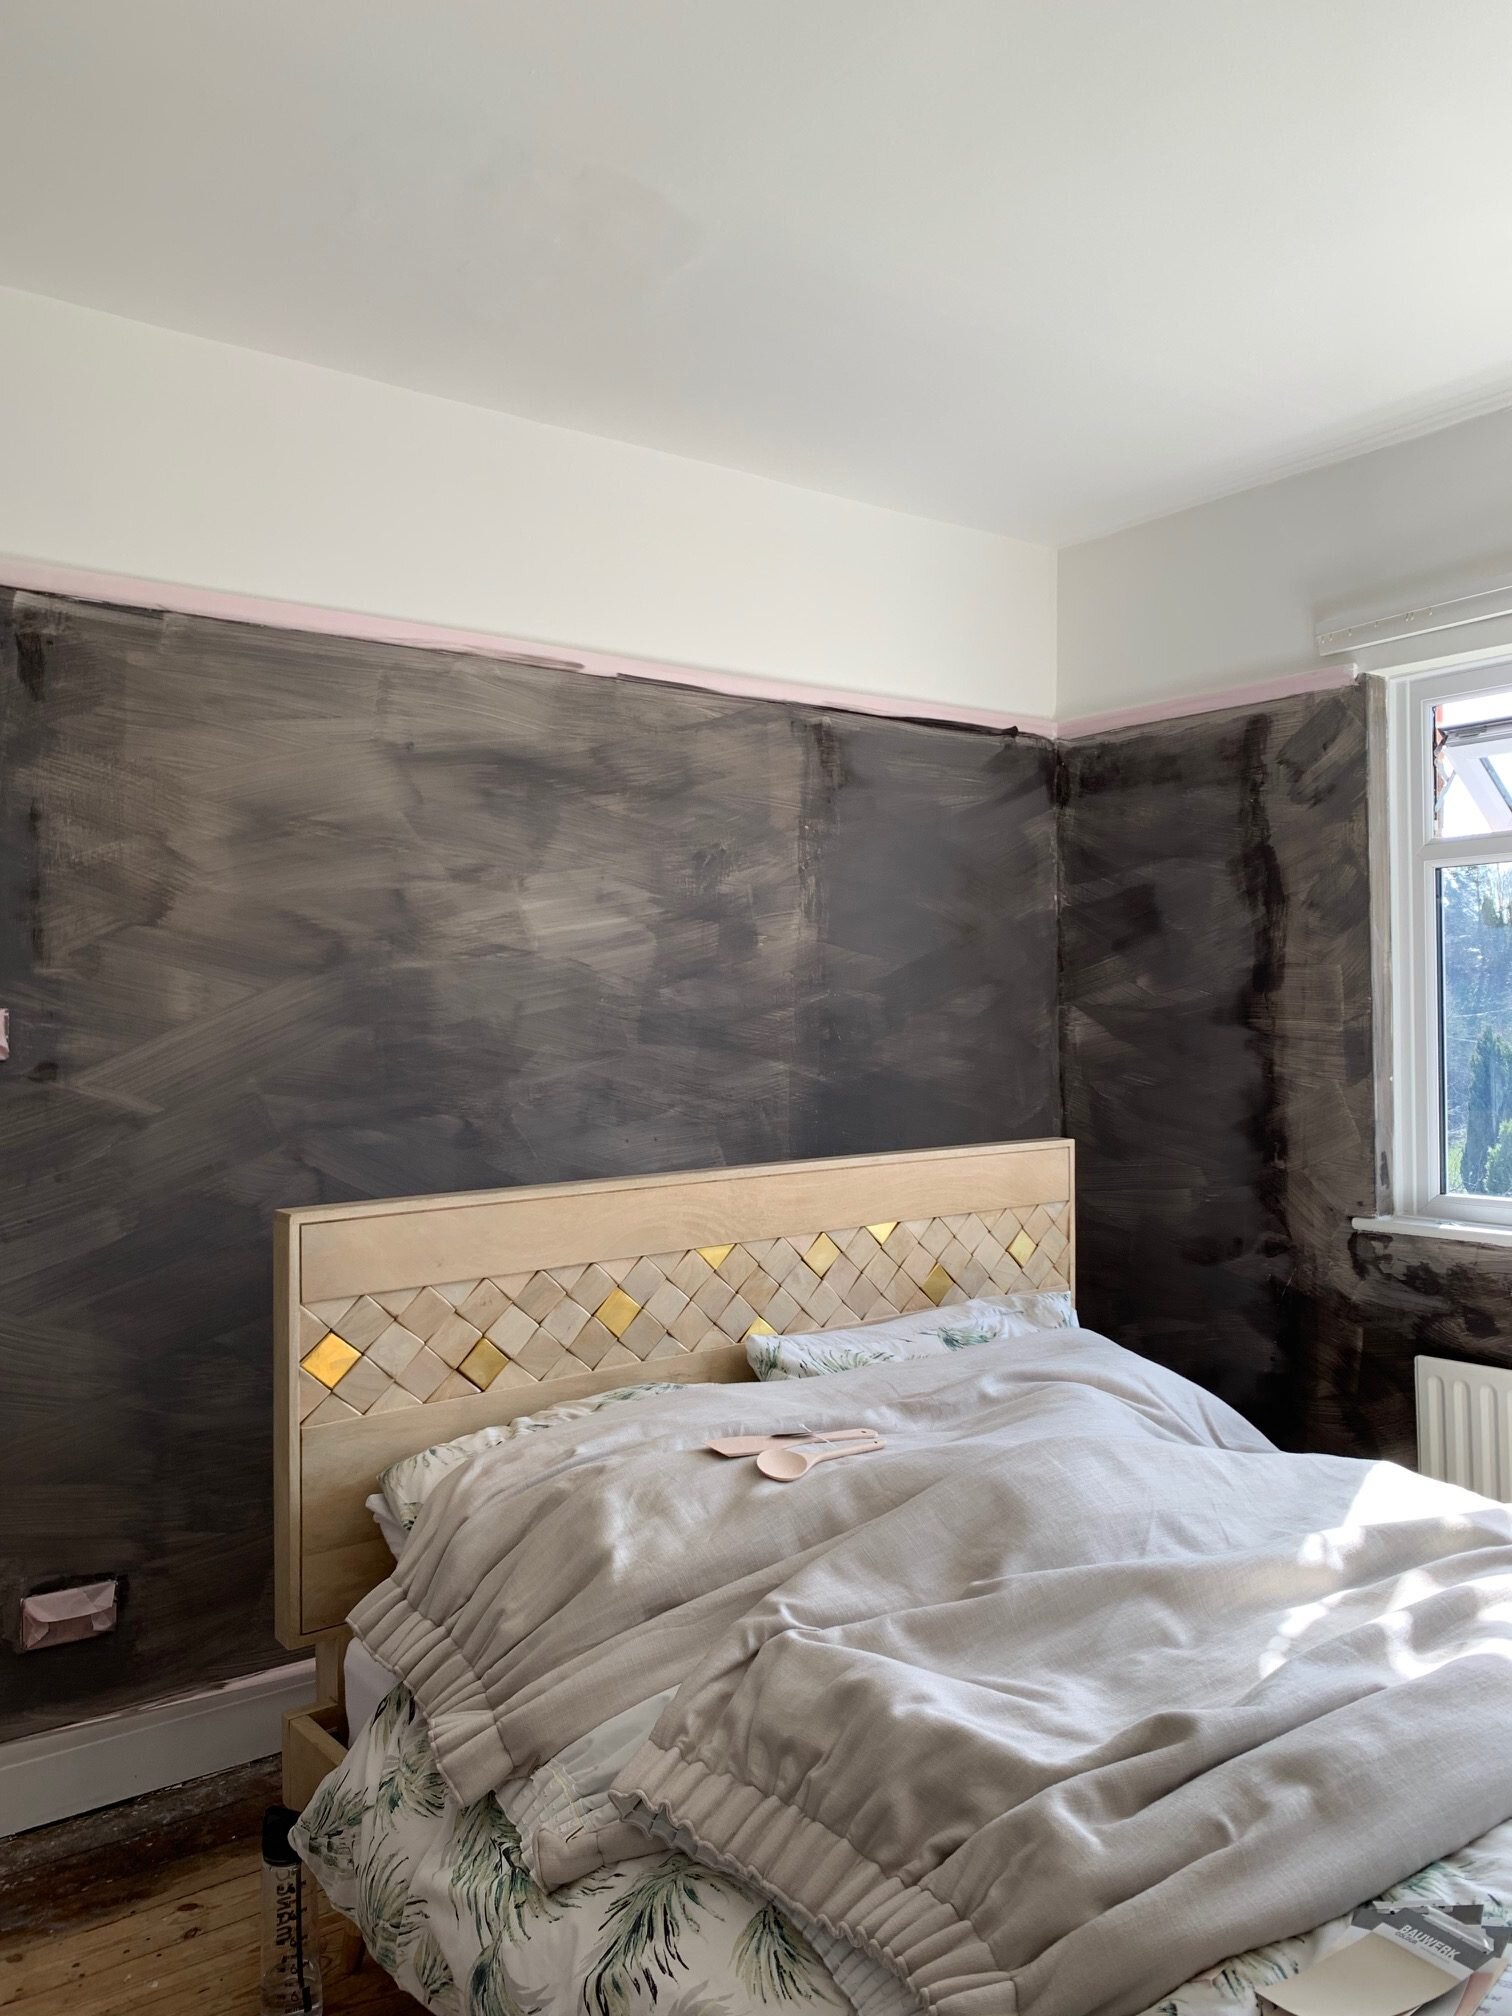
Two coats of Slate - you can see the corner patch where the paint must have been different underneath
Unfortunately after two coats of the dark Slate, you could still see every blemish on the walls coming through, so I decided to do one more coat to try and cover up the differences before proceeding with the white wash. It was weird to have such a dark room for a few days and definitely confirmed that dark interiors - whilst amazing and inspirational in other people's homes, isn't the aesthetic for me.
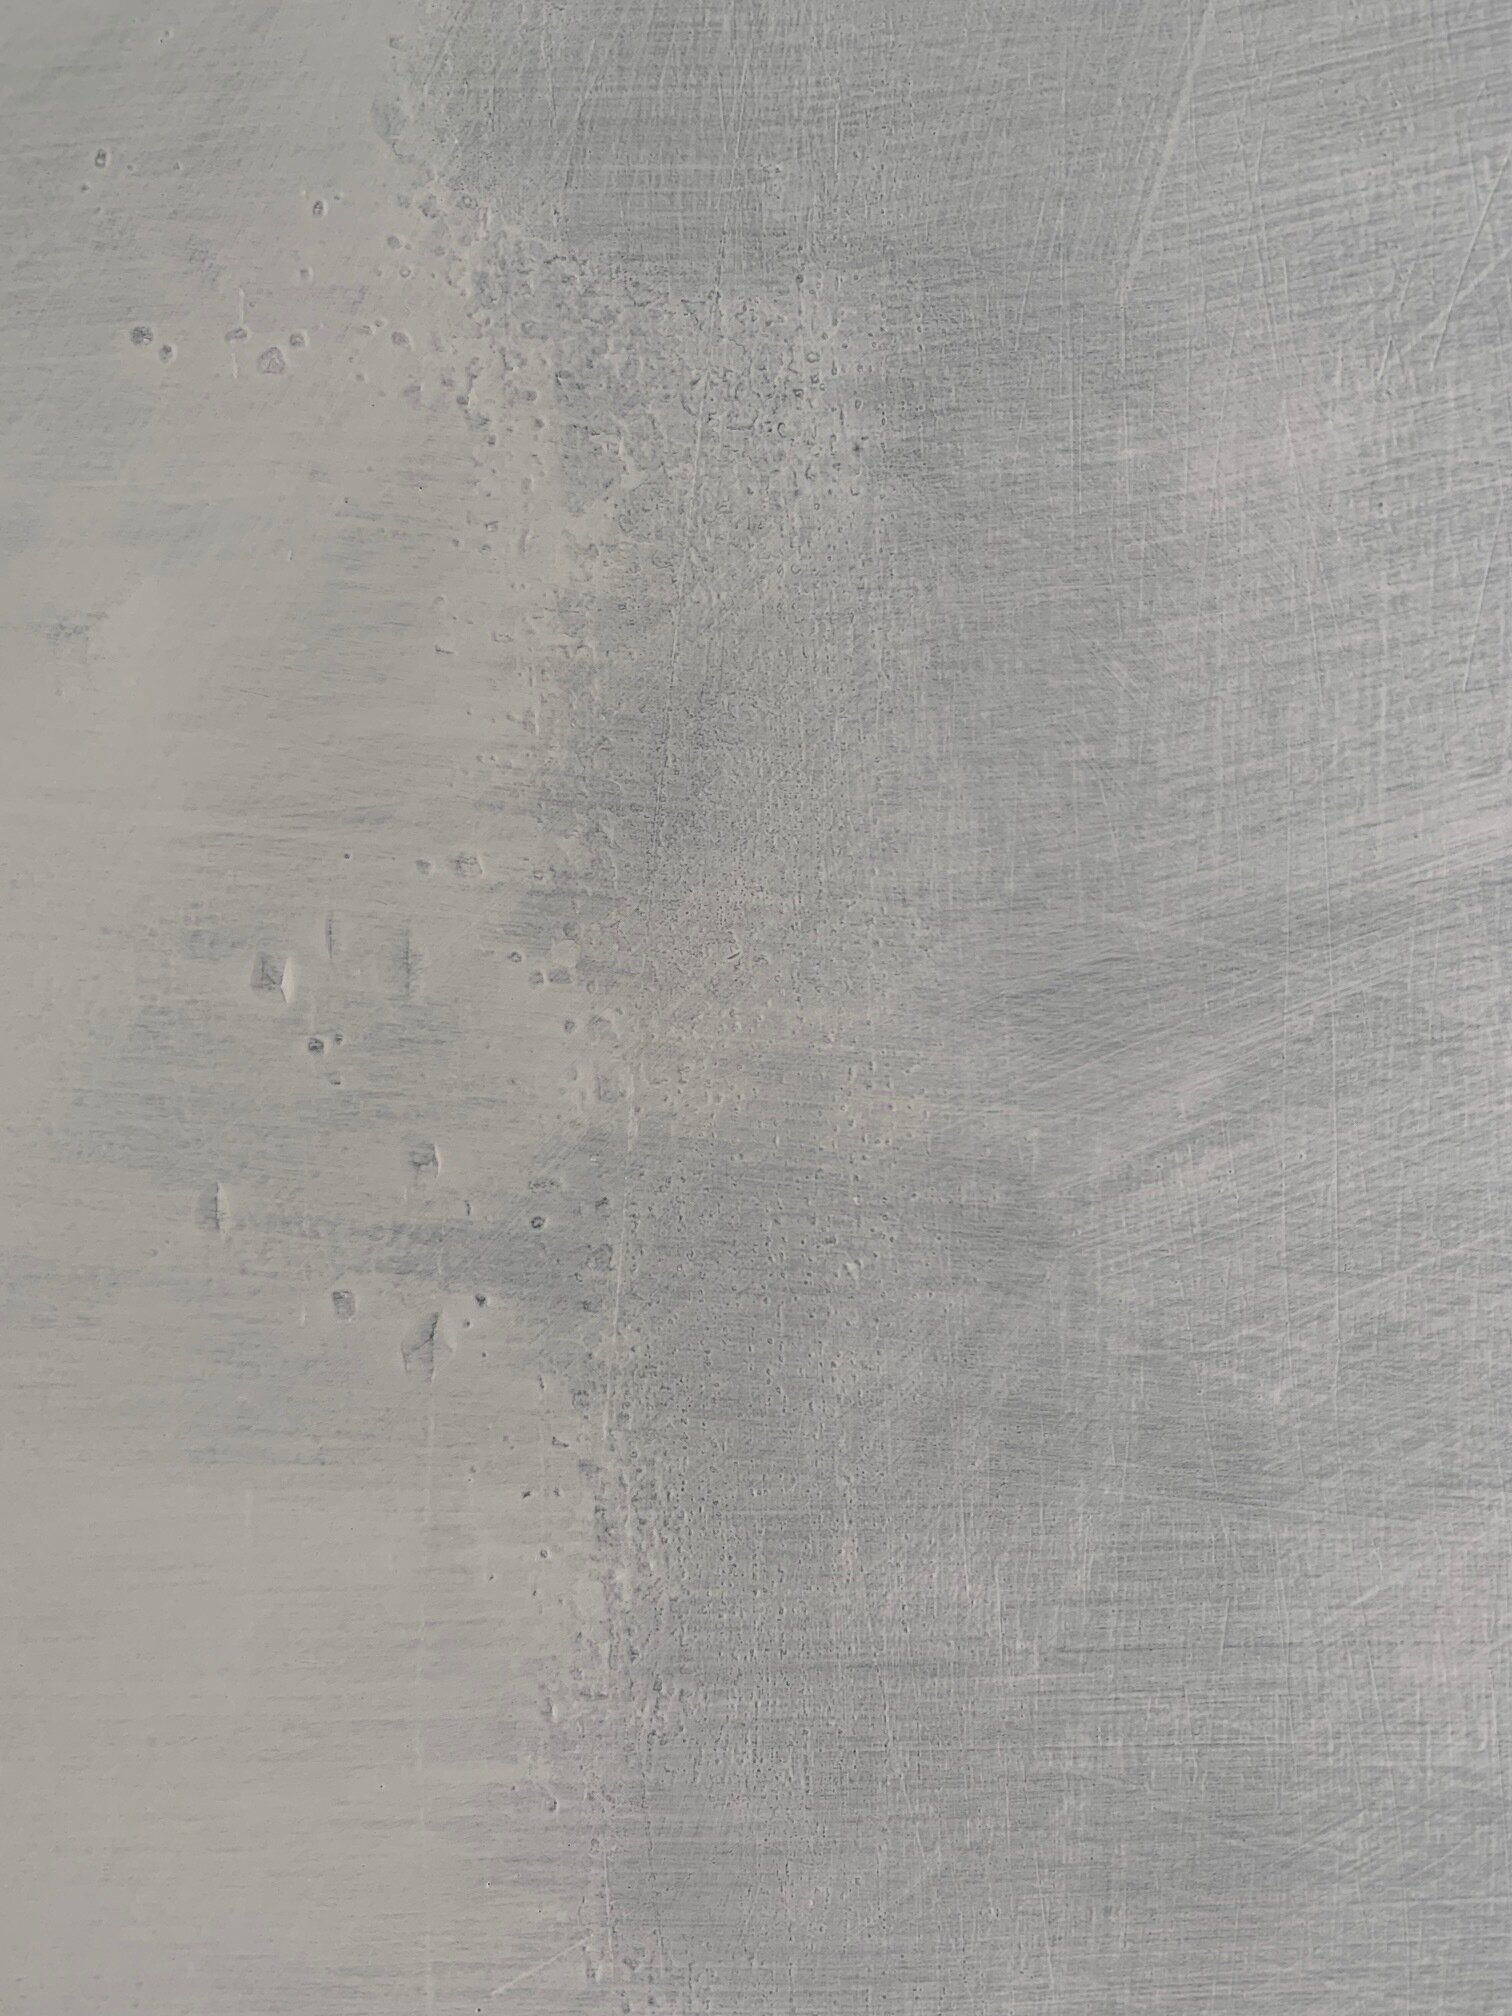
After one coat of the Whitewash my confidence started to vanish as our room looked nothing like the example I was trying to replicate. It was very dark and patchy - not in a nice way - and looked a bit like someone had taken to the walls with a tube of toothpaste.
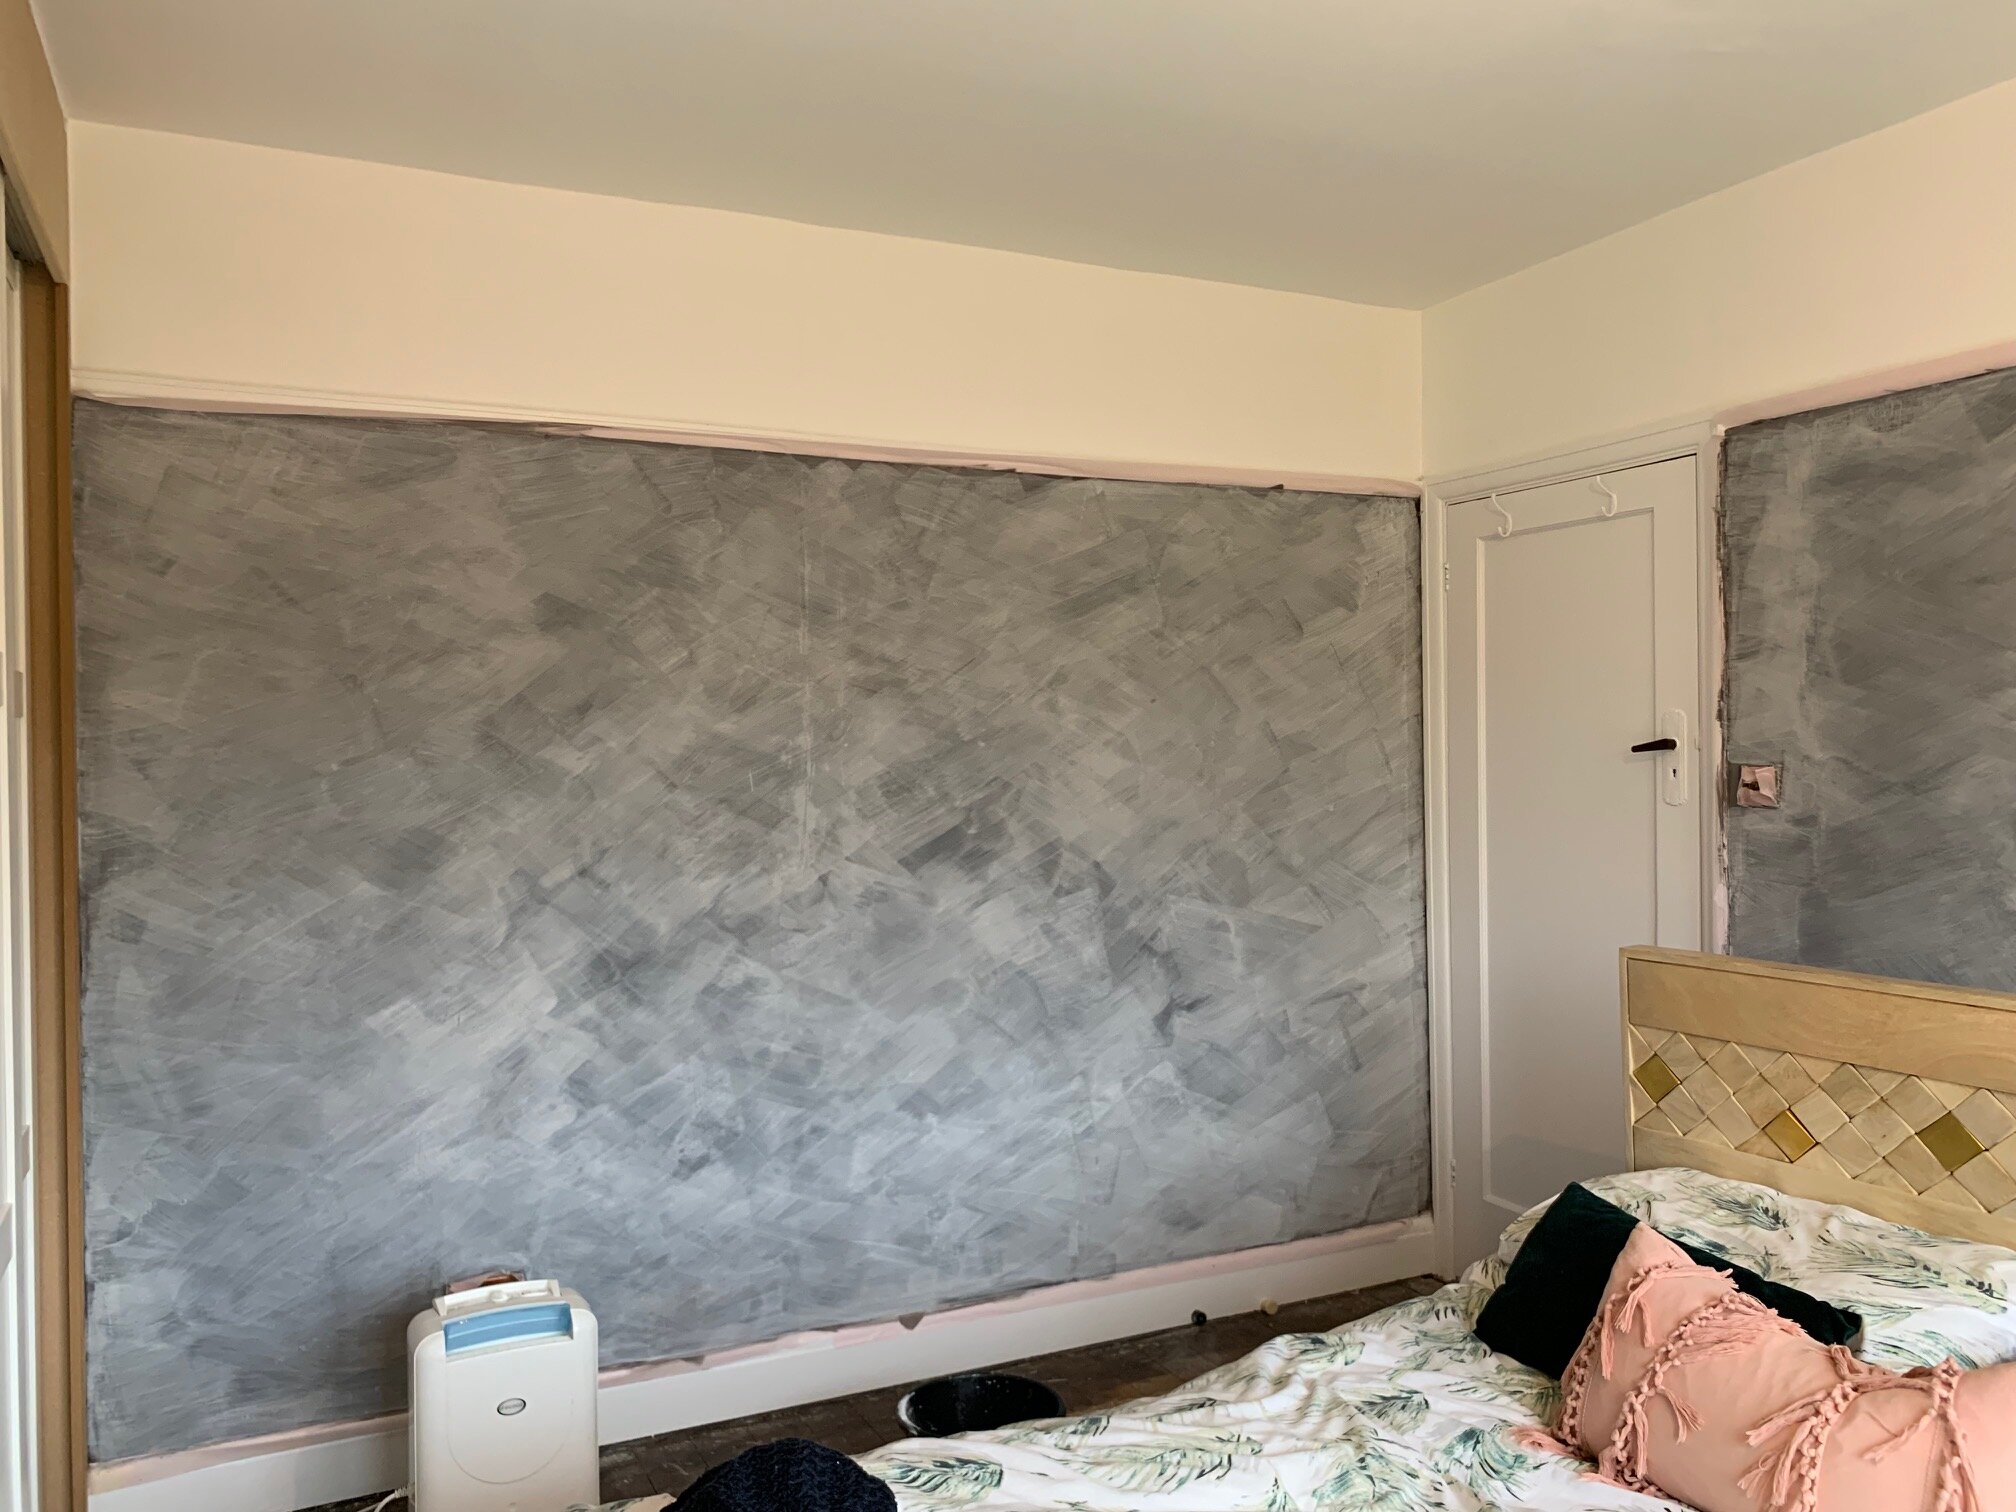
One coat of Whitewash - nothing like the example and you can see lines where the electrician has removed/installed switches

Three coats of slate and three of whitewash - patches still so uneven
Enthusiasm was also waning big time. Four coats in and a long way from my goal, I carried on regardless and painted another five more. So that was nine in total and at least the colour was beginning to look how I had imagined, yet it still looked awful.
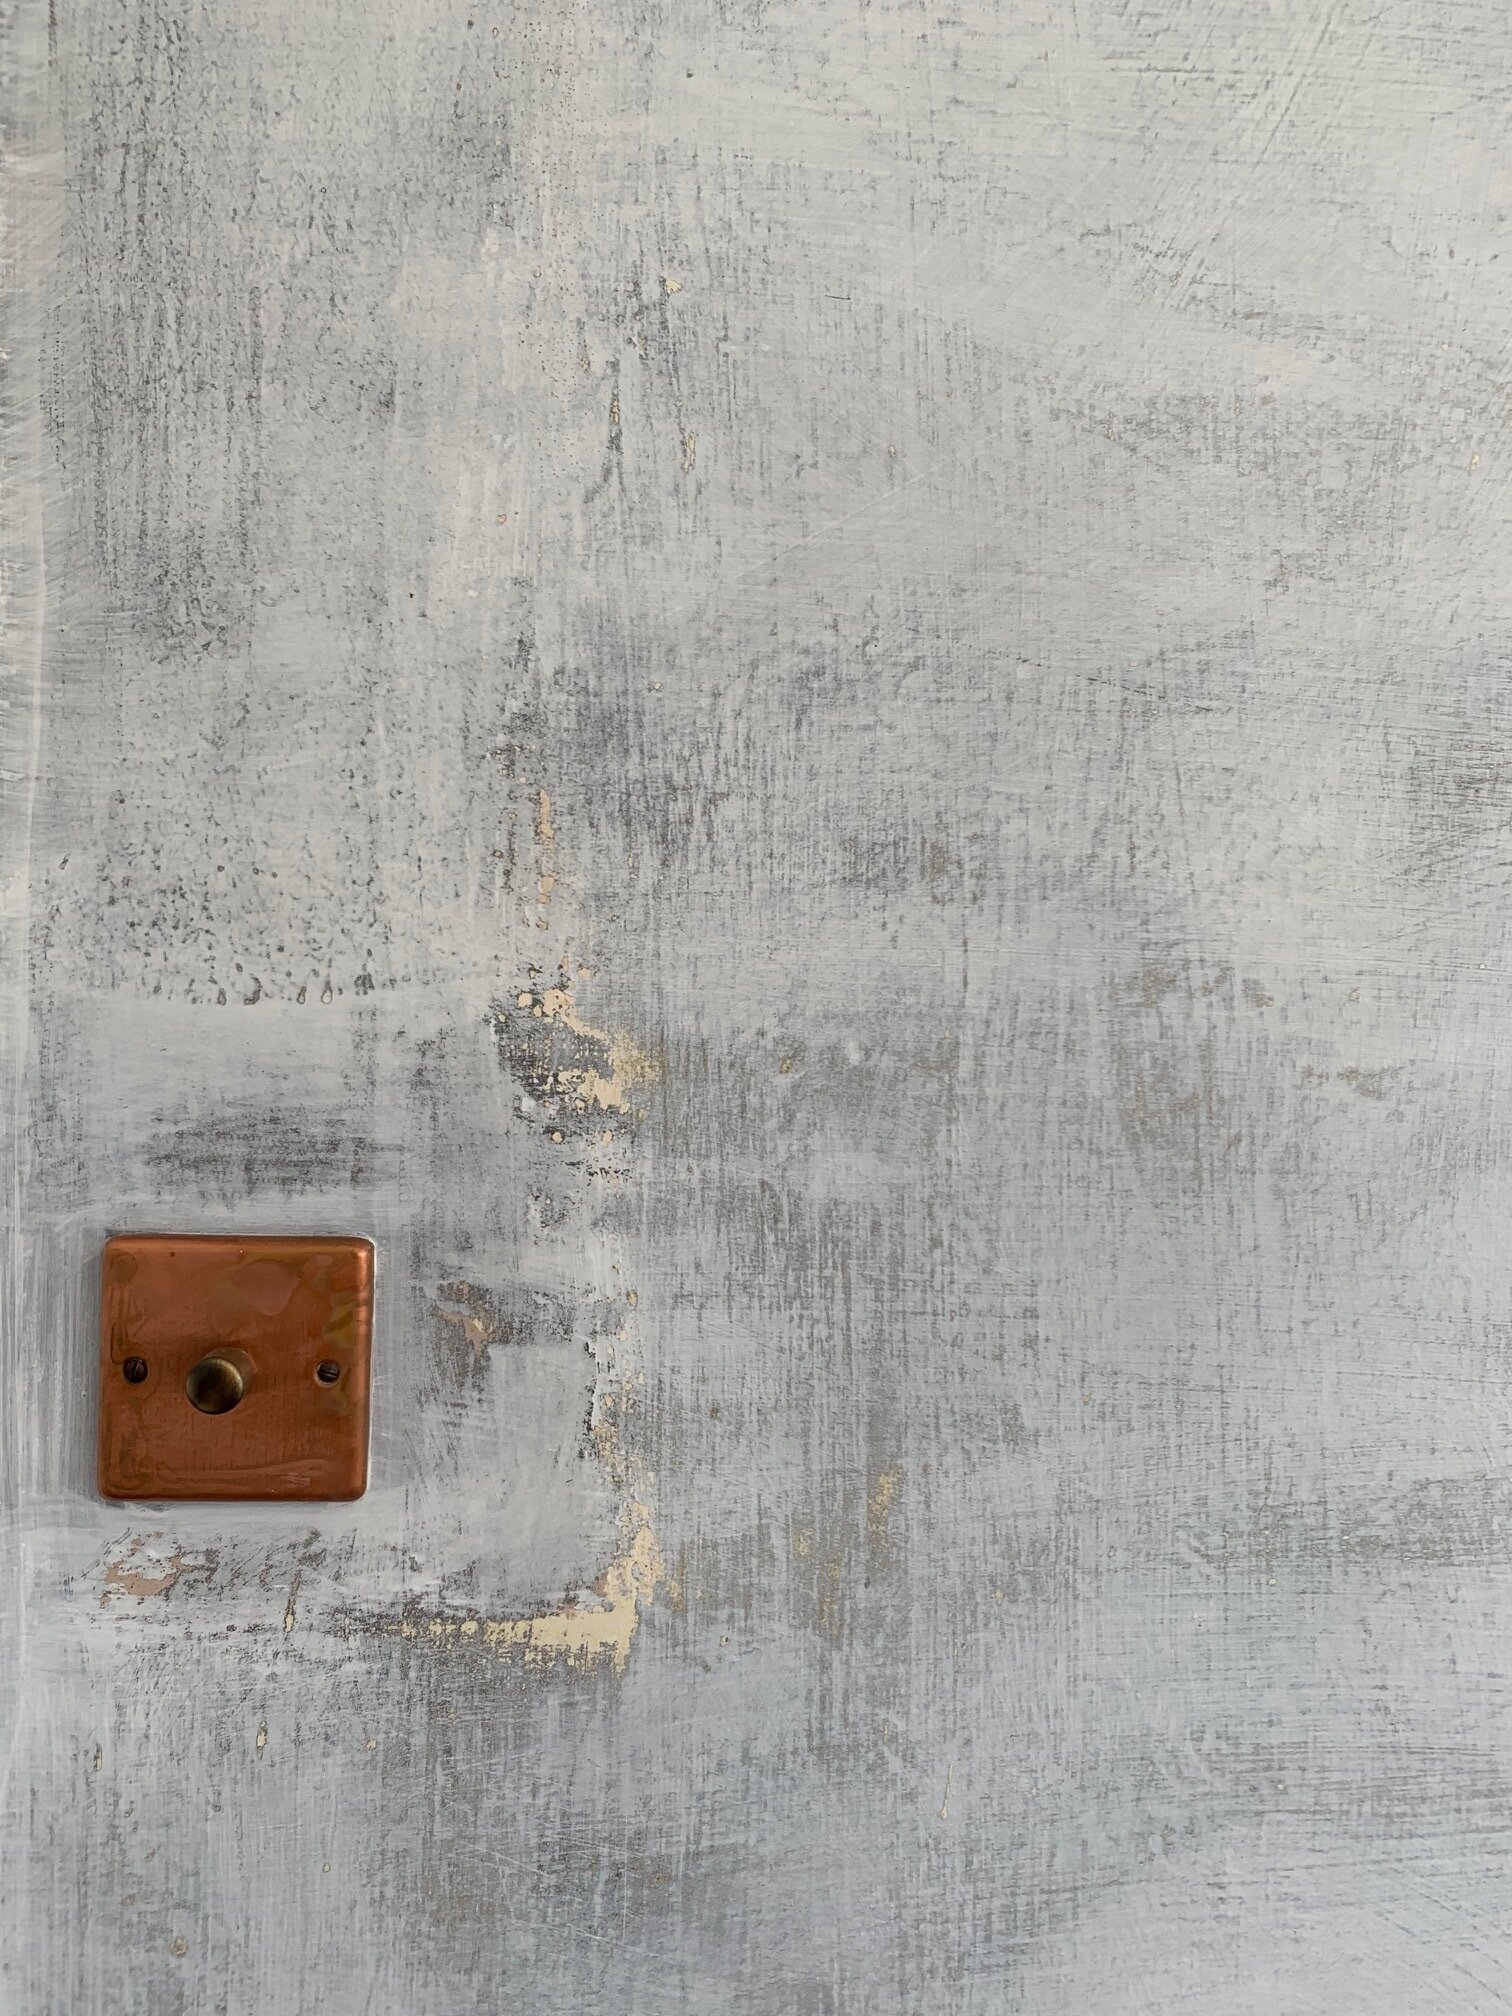
Yes, I wanted the walls to be uneven, patchy and textured but having the patches from old plug sockets still visible was not the look I was going for. The walls were also bubbling which created lots of little bumps in the plaster.
So at this point the brand got in touch (they rang me from their HQ in Germany) after I had tagged them in on my Instagram stories. To give them their credit, I can not fault their customer service. They did everything to help me and made me realise my mistakes (in the kindest possible way). Yes, I should have used a sealer and, no, I should not have had to do nine coats. Two or three coats is normally adequate.
I asked them about repainting in regular emulsion and they said it should be fine. As advised, I waited two weeks for the paint to cure but even after that time, the lime paint still left a chalky residue on my hand if rubbed against the walls. So I sanded everything back, including all the bumps the paint had created and set to with a roller and some good old brilliant white.
The paint did not go on well though, ironically for a lime paint that didn't cover up anything underneath it, it sure did do a good job of penetrating through the emulsion on top of it. More distressing though, was the areas where the walls had bubbled as the plaster was literally just falling off the walls.

This is one of five areas where the plaster has fallen off the walls
Solving the problem: When limepaint went wrong
With a bit of help from our chemically laden friend, Zinsser, we managed to seal these troublesome areas (think paint, sand back, paint, sand back, paint etc) and then we proceeded with three more coats of emulsion until we were happy with the finish. When inspected closely, however, the walls really are in a bad state of repair now. The lime wash has damaged the walls where the plaster has just fallen off and left pockets of circular indents where it bubbled. If we had more pennies and willpower in the bank, it would be getting replastered.
After 13 coats of paint and a month of hard work, the room is essentially just a white box. Ha! I am happy with it for now though and I wanted to see how the emulsion lasts on these chalky walls before investing in a more interesting colour. Having had our bedroom in chaos for a month it's just nice to get it a bit more organised and concentrate on something else for awhile.
In conclusion: Limepaint, what went wrong!
Make sure you read all the instructions and unless your walls are in perfect condition, use an undercoat. As for having to do nine coats - I have no idea why the colours didn't really work out for me and nor did the lovely person I spoke to on the phone. And that's the thing. I think this paint is unpredictable and whilst some people get incredible results, some people can't and to me, the paint is too expensive (and the labour too intensive) to be making that kinda gamble again.
I don't like how it made the plaster crumble, how it still rubbed off on your hands after two weeks, how it would be impossible to clean and how stubborn it was when repainting with emulsion. If you think you can make it work, go for it, I would love to be proven wrong.
As for the rest of our renovation, we have had a wall knocked down, given our kitchen a complete budget makeover and replastered/decorated four more rooms in the space of five months. I've had a lot of colour schemes to think about and this is the first decision/mistake I've not been happy with. So, whilst the money and time lost is annoying, with a project this size, it would be totally unrealistic to expect everything to go smoothly.
We move on and I look forward to showing you the bedroom when it's finished - completed with it's budget brilliant white walls!
Have you used lime paint before?
Let me know in the comments below!
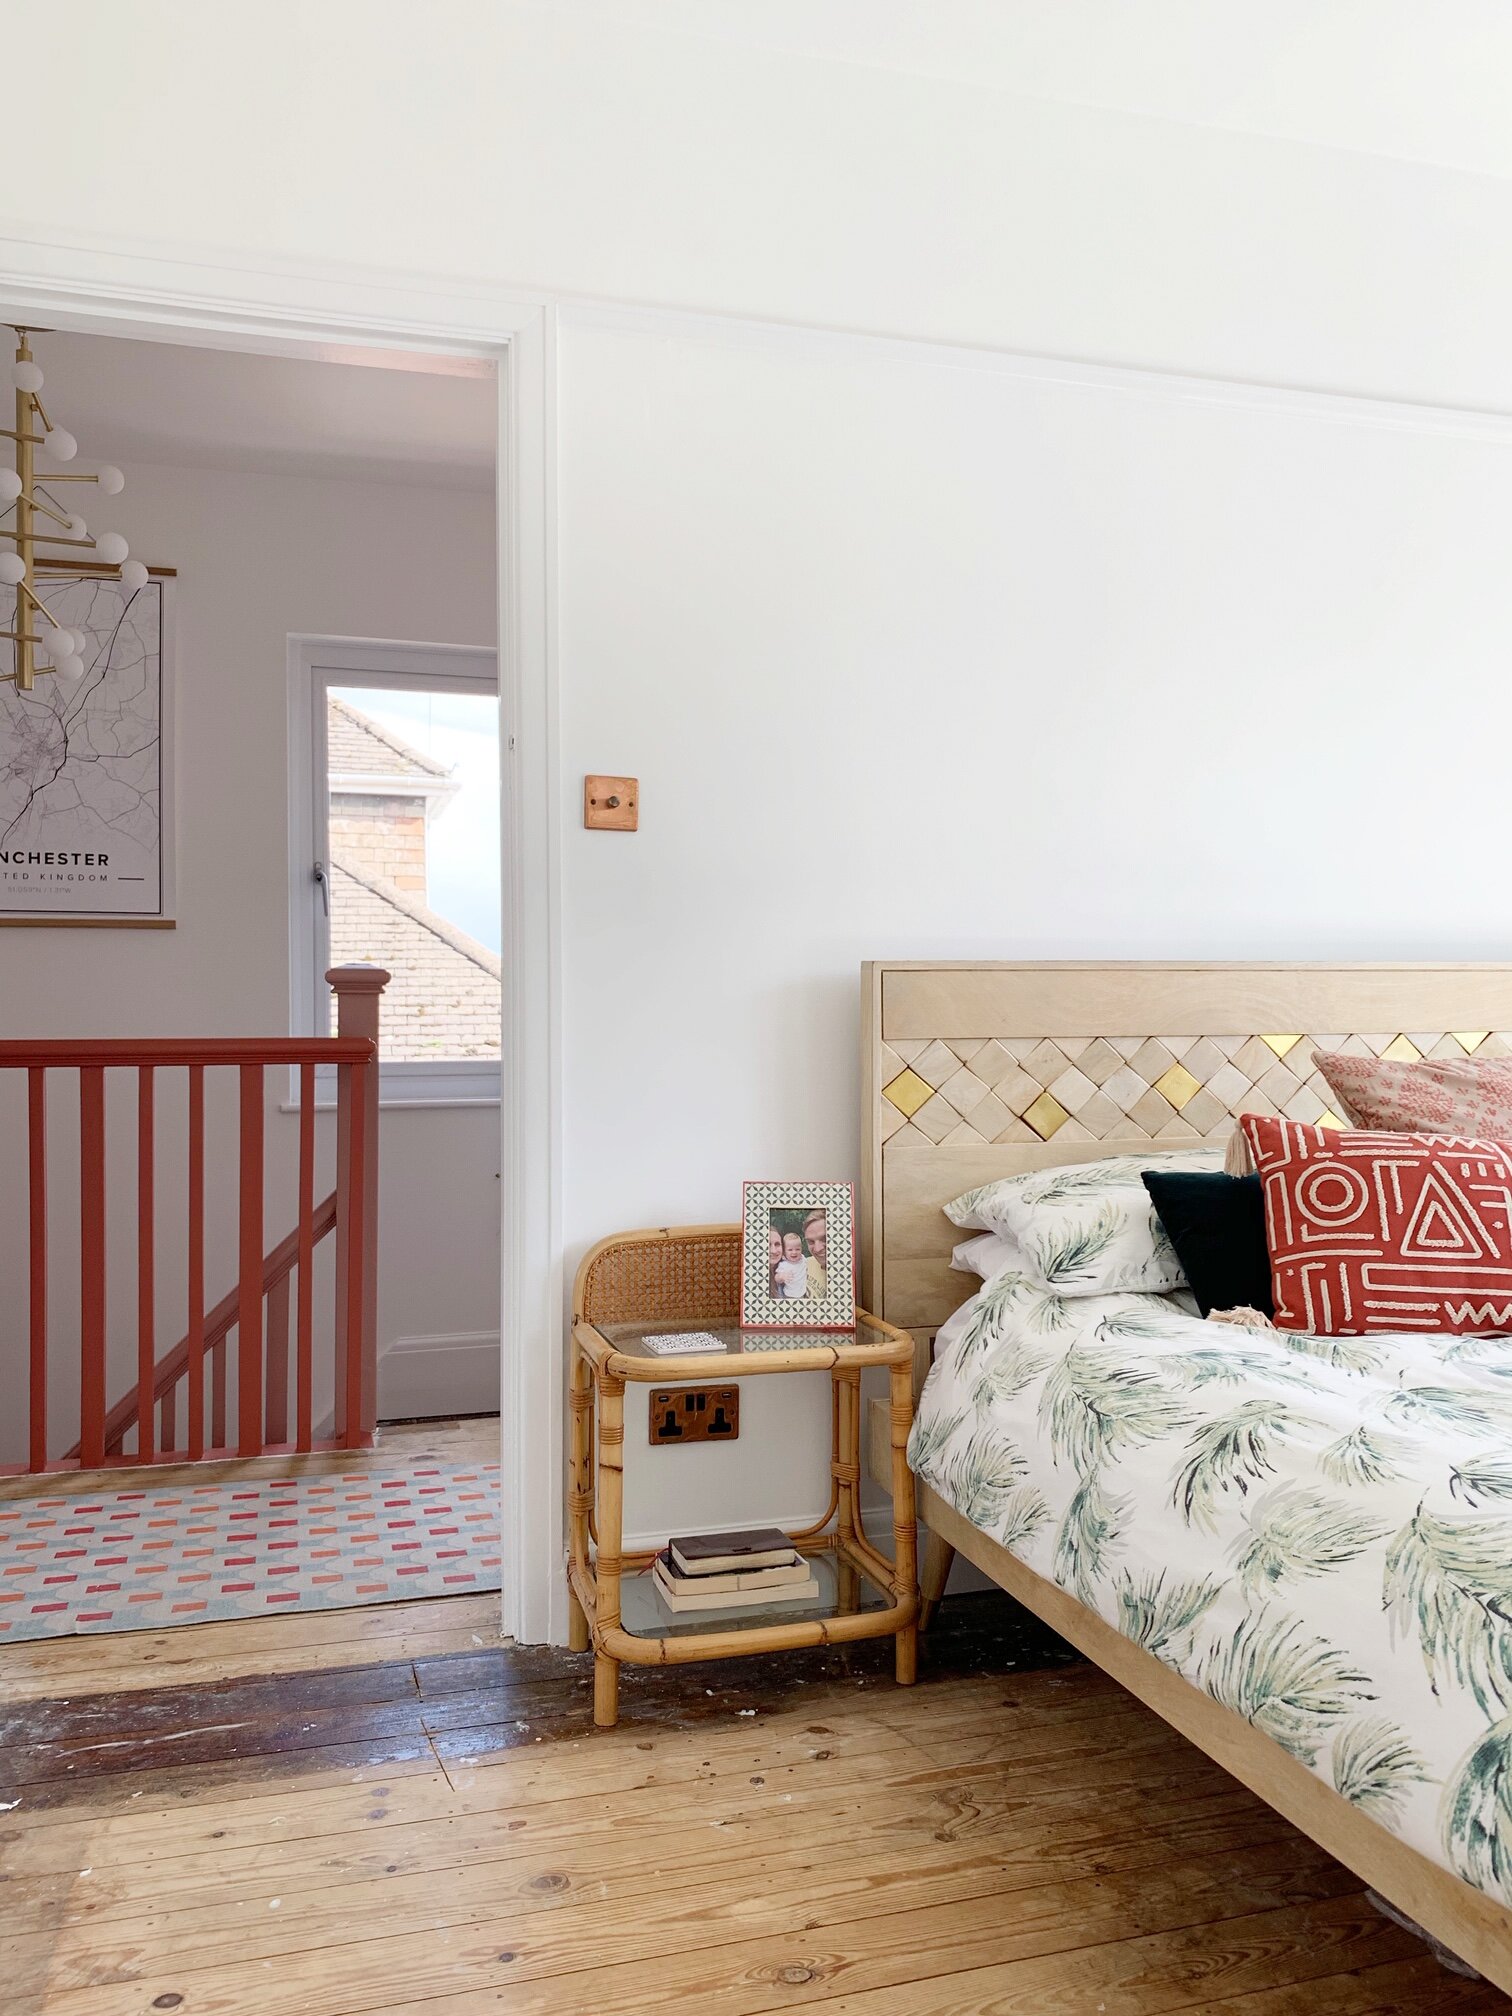
The floors still need doing and the rest of the room styled, but I'm thankful to have the walls finally done!
**This is an old blog post and we have moved house since to another renovation project. This time it’s a 400 year old thatched cottage. Check out my latest blog posts and follow me on socials if you want to know more!
Related Blog Posts:
Before and After featuring the original Estate Agent Pictures: a 1930s Family Home
Living with bare plaster walls, and why it didn’t work for us
You can follow me here: